Fixes for iPhone 4S Home Button Alignment
In this article, I will discuss various fixes for iPhone 4S home button alignment issues.
Preparing for DIY Home Button Replacement
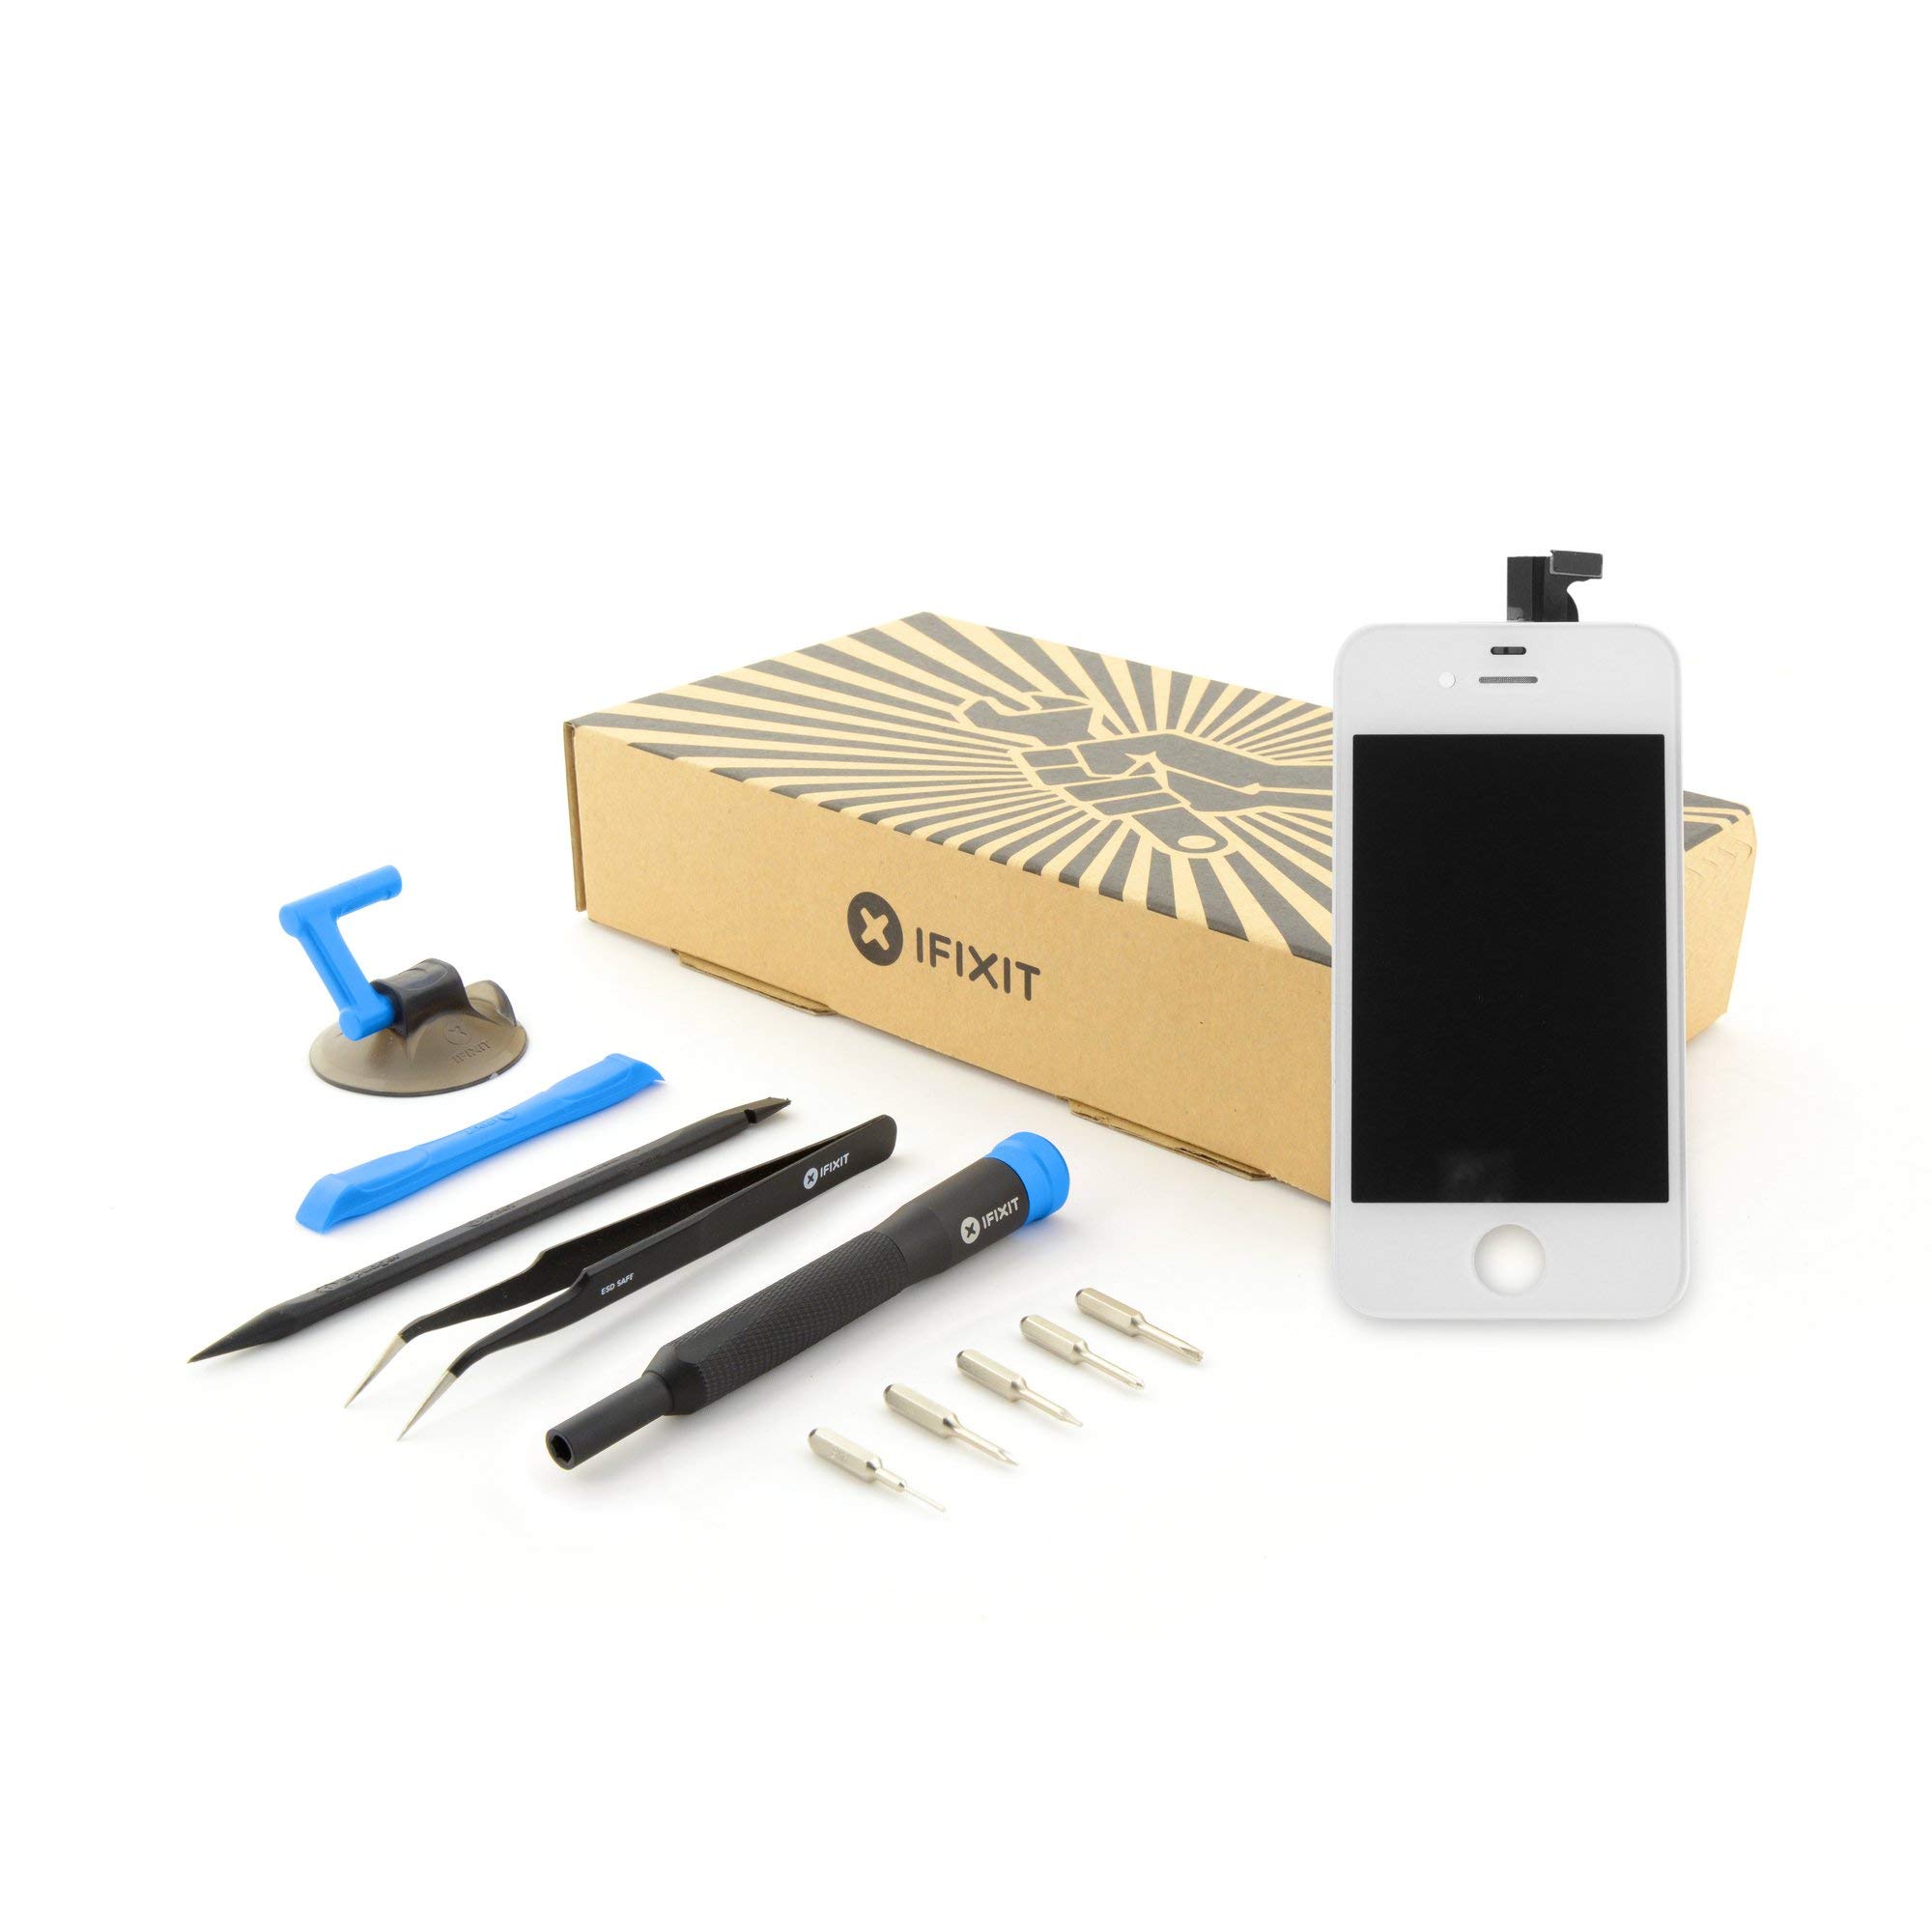
When preparing for a DIY home button replacement on your iPhone 4S, it’s important to have the right tools and a clear understanding of the process. Start by gathering a small Phillips screwdriver, a plastic spudger, and a replacement home button assembly.
Begin by powering off your iPhone 4S and removing the two screws located on either side of the charging port. Use the plastic spudger to carefully pry open the back cover of the iPhone, being mindful not to damage any internal components.
Once the back cover is removed, locate the home button assembly at the bottom of the device. Using the plastic spudger, gently pry the home button assembly from the iPhone. Be sure to disconnect any cables attached to the assembly before completely removing it.
Next, carefully align the replacement home button assembly with the corresponding slots in the iPhone 4S. Carefully reconnect any cables that were detached during the removal process.
Once the replacement home button assembly is securely in place, reattach the back cover of the iPhone and secure it with the two screws near the charging port. Power on your iPhone 4S and test the new home button to ensure it is functioning properly.
However, keep in mind that Fortect is not designed to specifically target hardware issues with the iPhone 4s home button.
Disassembling the iPhone 4S Components
- Step 1: Power off the iPhone 4S.
- Step 2: Remove the two screws located on either side of the dock connector.
- Step 3: Slide the back cover upwards and lift it off.
- Step 4: Remove the battery connector by unscrewing the two screws holding it in place.
- Step 5: Use a spudger tool to disconnect the battery from the logic board.
- Step 6: Remove the three screws holding the battery in place and lift it out.
- Step 7: Unscrew the five screws securing the connector cover.
- Step 8: Disconnect the three connectors under the cover with a spudger tool.
- Step 9: Remove the connector cover and set it aside.
- Step 10: Unscrew the three screws holding the logic board in place.
- Step 11: Lift the logic board out of the iPhone 4S.
- Step 12: Remove the rear-facing camera by unscrewing the screw holding it in place.
- Step 13: Disconnect the camera from the logic board with a spudger tool.
- Step 14: Remove the front-facing camera by unscrewing the screw holding it in place.
- Step 15: Disconnect the camera from the logic board with a spudger tool.
- Step 16: The iPhone 4S components are now disassembled.
Replacing the Home Button Flex Cable
To replace the Home Button Flex Cable on your iPhone 4S, you will need to follow these steps carefully. First, make sure you have all the necessary tools on hand, such as a small Phillips screwdriver, a plastic opening tool, and a replacement Home Button Flex Cable.
Step 1: Power off your iPhone 4S and remove the two screws at the bottom of the device using a small Phillips screwdriver.
Step 2: Gently slide the back cover off the iPhone and set it aside.
Step 3: Locate the Home Button Flex Cable, which is connected to the logic board near the bottom of the device.
Step 4: Carefully disconnect the Home Button Flex Cable from the logic board by using a plastic opening tool to pry it up gently.
Step 5: Remove the old Home Button Flex Cable and replace it with the new one, making sure it is securely connected to the logic board.
Step 6: Replace the back cover of the iPhone and secure it with the two screws at the bottom of the device.
Step 7: Power on your iPhone 4S and test the Home Button to ensure it is working properly.
Reassembling the Device Post-Repair
To reassemble the device post-repair, follow these steps for iPhone 4S home button alignment:
1. Make sure the home button is properly aligned with the opening on the front panel of the iPhone 4S. This is crucial for the button to function correctly and for the device to look seamless.
2. Slowly and carefully place the front panel back onto the device, ensuring that all the components fit back together snugly. Take your time to avoid damaging any internal parts during reassembly.
3. Use a gentle but firm pressure to secure the front panel in place. Be cautious not to apply too much pressure, as this could cause damage to the components inside the device.
4. Once the front panel is securely in place, check the alignment of the home button to ensure it is sitting flush with the front of the device. Make any necessary adjustments before proceeding.
5. Test the home button functionality by pressing it several times to ensure it is responding correctly. If there are any issues with alignment or functionality, disassemble the device again and retrace your steps.
6. After confirming that the home button is aligned properly and working as it should, reassemble the rest of the device following the same careful process. Pay attention to the alignment of all components to avoid any issues with the device’s functionality.
Beware of the iPhone 4s home button issue, as it may become unresponsive or malfunction over time. Download this tool to run a scan