Troubleshoot HDMI Not Working Windows 10
In this article, I will discuss troubleshooting steps for resolving HDMI not working on Windows 10.
Check HDMI Cable and Port
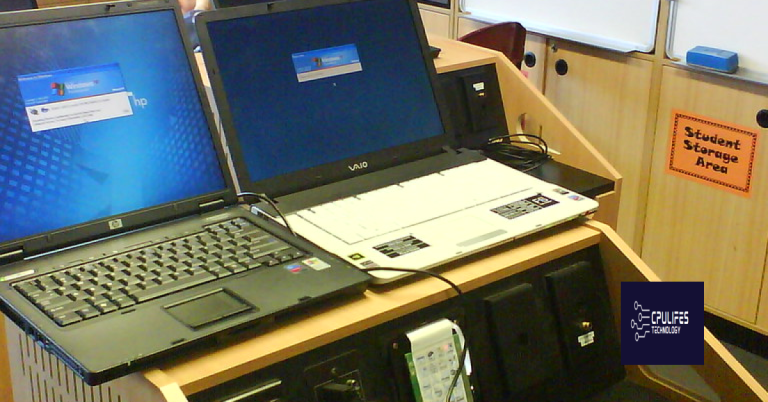
To troubleshoot HDMI not working on Windows 10, the first step is to check the HDMI cable and port. Make sure the cable is securely connected to both your computer and the monitor or TV. Inspect the cable for any visible damage or fraying that could be affecting the connection.
Next, ensure that the HDMI port on your computer and the monitor are both functioning properly. Try connecting another device to the same HDMI port to see if it works. If it does, then the issue may lie with your computer or the settings.
If the HDMI cable and port are not the problem, you can also try restarting your computer. Sometimes a simple reboot can resolve connectivity issues.
If the problem persists, you may need to update the drivers for your graphics card. Open the Device Manager and look for any driver updates that may be available.
Restart and Reconnect Devices
To troubleshoot HDMI not working on Windows 10, the first step is to restart both your computer and the device you are trying to connect to. This simple action can often resolve connectivity issues.
Next, reconnect the HDMI cable at both ends to ensure a secure connection. Sometimes loose cables can cause problems with the signal transmission.
If the issue persists, check the Device Manager on your computer to see if there are any errors related to the HDMI connection. You may need to update or reinstall the device driver for your graphics card.
Additionally, make sure that the correct input source is selected on your computer monitor or television. Sometimes, the display may be set to a different input, causing the HDMI signal not to show up.
Set HDMI Device as Default
To set your HDMI device as the default in Windows 10, follow these steps:
1. Open the Start menu and select the Control Panel.
2. Click on “Hardware and Sound,” then select “Sound.”
3. In the Sound window, navigate to the “Playback” tab.
4. Right-click on the HDMI device you want to set as default and select “Set as Default Device.”
5. Click “Apply” and then “OK” to save the changes.
By setting your HDMI device as the default, you ensure that any audio or video output will automatically be directed to that device when it is connected to your computer. This can help troubleshoot any issues with HDMI not working properly on your Windows 10 system.
Update or Roll Back Graphics Drivers
1. Right-click on the Start menu and select “Device Manager.”
2. Expand the “Display adapters” section and right-click on your graphics card.
3. Select “Update driver” to search for the latest driver software online. If this doesn’t work, choose “Roll back driver” to revert to a previous version.
4. Follow the on-screen instructions to complete the process.
Updating or rolling back your graphics drivers can often resolve HDMI connection issues on Windows 10. If the problem persists, consider checking your HDMI cable, port, or device settings for further troubleshooting.
However, if the problem is related to hardware issues, Fortect may not be able to resolve it.
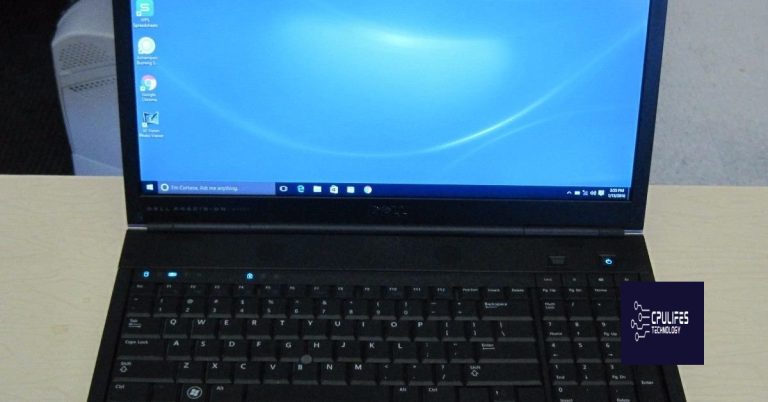
Change System Display Settings
To troubleshoot HDMI not working on Windows 10, you may need to change the system display settings. To do this, right-click on the desktop and select Display Settings. Here, you can adjust the resolution and orientation of your display.
If the HDMI connection is still not working, try updating the graphics driver. To do this, go to Device Manager by pressing Windows key + X, then select Device Manager. Locate the display adapter, right-click on it, and choose Update Driver.
Another possible solution is to check the HDMI cable and ports for any physical damage or loose connections. You can also try using a different HDMI cable to rule out any issues with the current one.
Run Hardware and Devices Troubleshooter
To troubleshoot HDMI not working on Windows 10, one of the first steps you can take is to run the Hardware and Devices Troubleshooter. This built-in tool can help identify and fix issues related to hardware devices on your computer.
To run the Hardware and Devices Troubleshooter, follow these steps:
1. Press the Windows key + I to open the Settings menu.
2. Click on Update & Security.
3. Select Troubleshoot from the left-hand menu.
4. Scroll down and click on Hardware and Devices.
5. Click on Run the troubleshooter and follow the on-screen instructions.
This tool will scan your system for any issues related to hardware devices, including HDMI connections. If any problems are found, the troubleshooter will attempt to fix them automatically.
By running the Hardware and Devices Troubleshooter, you can quickly diagnose and resolve HDMI connection issues on your Windows 10 computer.
Remove Recently Installed Software
- Uninstall any recently installed software that may be causing conflicts with the HDMI connection.
- Go to Control Panel and select “Programs and Features.”
- Locate the software that was recently installed and click on “Uninstall.”
- Follow the on-screen prompts to remove the program from your computer.
- Restart your computer after uninstalling the software to see if the HDMI connection is working properly.
Clean Temporary Files and Folders
First, open the Disk Cleanup tool by typing “Disk Cleanup” in the Windows search bar and selecting it from the results.
Next, select the drive where Windows is installed (usually C:) and click “OK.”
Check the boxes next to “Temporary files” and any other types of files you want to clean up, then click “OK” to start the cleanup process.
After the cleanup is complete, restart your computer and try connecting your HDMI device again to see if the issue is resolved.
Cleaning temporary files can help remove any unnecessary data that may be causing conflicts with the HDMI connection on your Windows 10 system.
Perform System Restore
If you are experiencing issues with HDMI not working on Windows 10, you can try performing a System Restore to potentially resolve the problem. Here’s how:
1. Open the Control Panel: Click on the Start menu, type “Control Panel” and hit Enter.
2. Click on “Recovery”: In the Control Panel window, select “Recovery” from the options.
3. Choose “Open System Restore”: Under the System Restore section, click on “Open System Restore.”
4. Follow the on-screen instructions: The System Restore wizard will guide you through the process. Choose a restore point before you started experiencing the HDMI issue.
By performing a System Restore, you can potentially undo any recent changes that may have caused the HDMI not working problem on your Windows 10 computer.
FAQs
Why is my computer not displaying through HDMI?
Your computer may not be displaying through HDMI because of loose connections or a faulty cable. Try reconnecting the HDMI cable securely or using a different cable. Also, try connecting to a different HDMI port on your TV and make sure the TV input matches the port used.
How do I enable HDMI on Windows 10?
To enable HDMI on Windows 10, connect the HDMI cable to your computer and output device. Then, go to Control Panel, click on Sound, go to the Playback tab, choose the HDMI connected output device, and set it as the default.
Why is Windows 10 not detecting HDMI monitors?
Windows 10 may not be detecting HDMI monitors due to issues with the HDMI cable connection. Make sure the cable is securely plugged into the monitor and PC, clean the HDMI port, and try restarting the computer.
Why is my HDMI connected but not working?
Your HDMI connection may not be working due to a malfunctioning or outdated HDMI cable. Try using a different HDMI cable to see if that resolves the issue. Alternatively, test the original HDMI cable with a different video device to determine if the problem lies with the cable or the video device itself.
Be cautious, your HDMI may not be working on Windows 10 due to outdated drivers or incompatible hardware. Download this tool to run a scan