Windows XP Installer Repair Guide
Looking to repair or reinstall Windows XP? This guide will walk you through the steps to troubleshoot and fix common installation issues with the Windows XP installer.
Preparing for Repair Installation
When preparing for a repair installation of Windows XP, it is essential to ensure that you have a Windows XP installation CD or a recovery disc. Insert the CD into the optical disc drive and restart your computer. Boot from the CD by pressing any key when prompted.
Once the Windows Setup screen appears, press “Enter” to set up Windows XP. Press “F8” to agree to the license agreement, and then select the Windows XP installation you want to repair. Press “R” to begin the repair installation process.
Follow the on-screen instructions to complete the repair installation. You may be prompted to enter your product key at some point during the installation. Make sure to have this key handy.
After the repair installation is complete, remove the Windows XP installation CD and restart your computer. Your Windows XP should now be repaired and ready to use.
Initiating the Setup Process
To initiate the setup process for Windows XP Installer Repair, start by inserting the Windows XP installation CD into your computer’s optical disc drive. Reboot the computer and press any key when prompted to boot from the CD.
Follow the on-screen instructions to enter the Windows Setup. Press the “R” key to enter the Recovery Console when prompted.
Once in the Recovery Console, select the Windows installation you want to repair by typing the corresponding number and pressing “Enter.”
Enter the administrator password when prompted.
Next, follow the instructions to run the repair process. Once the repair is complete, remove the installation CD and reboot your computer.
If you do not have the Windows XP installation CD, you can also use a recovery disc provided by your computer manufacturer.
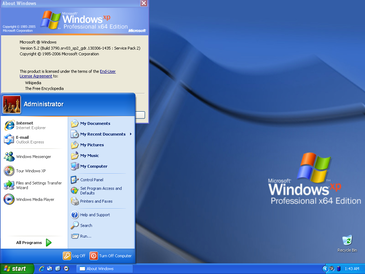
Accepting Licensing Terms
To accept the licensing terms, simply click “I Agree” when prompted during the installation process.
It is important to note that by accepting the licensing terms, you are agreeing to the terms and conditions set forth by Microsoft for the use of the Windows XP operating system.
If you have any questions or concerns about the licensing terms, it is recommended to seek legal advice or contact Microsoft for further clarification.
Remember to keep a record of your product key and any relevant licensing information for future reference.
Selecting the Installation and Copying Files
- Insert the Windows XP installation CD into the CD-ROM drive.
- Restart your computer and press any key to boot from the CD when prompted.
- Press R to enter the Recovery Console when the “Welcome to Setup” screen appears.
Copying Files
- Type the number that corresponds to the Windows installation you want to repair and press Enter.
- Enter the Administrator password when prompted.
- Type copy c:\windows\repair\system and press Enter to copy the system file from the repair folder to the Windows installation.
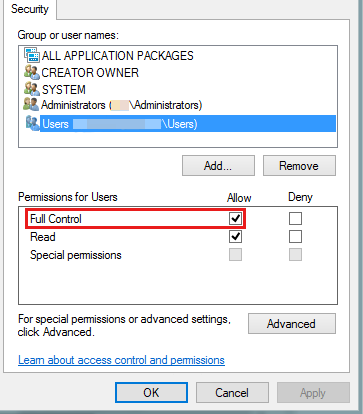
Configuring Settings and User Accounts
To configure settings and user accounts on Windows XP, follow these steps:
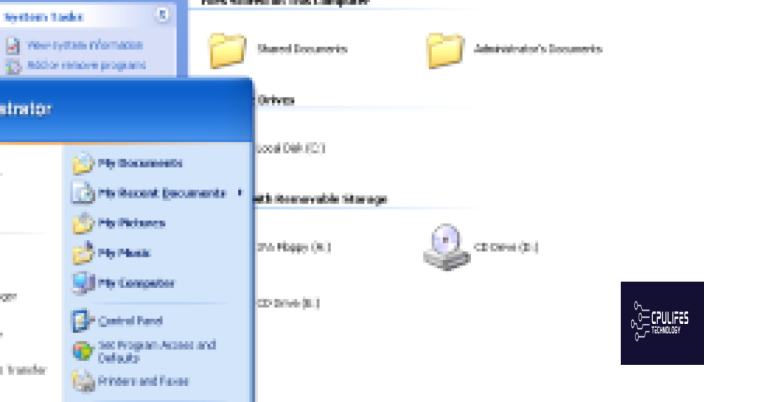
1. Click on the “Start” button and select “Control Panel” from the menu.
2. In the Control Panel, navigate to “User Accounts” to add or modify user accounts on the computer.
3. To configure system settings, go to “System” in the Control Panel and click on the “Advanced” tab.
4. From here, you can adjust settings such as performance, virtual memory, and user profiles.
5. If you need to change network settings, go to “Network Connections” in the Control Panel to manage connections and settings.
For more advanced configurations, such as modifying the registry or editing system files, it’s recommended to seek guidance from a professional or knowledgeable individual to avoid causing harm to the operating system.
Completing the Reinstallation Process
To complete the reinstallation process for Windows XP, you will need to follow a few simple steps. Firstly, insert the Windows XP installation CD into your computer’s CD drive and restart the computer. You will need to boot from the CD, so make sure to adjust the BIOS settings if necessary.
Once the computer has booted from the CD, you will see the Windows XP installation screen. Follow the on-screen instructions to reinstall Windows XP, making sure to select the correct options for your system. If you are prompted to format the hard drive, make sure you have backed up any important files before proceeding.
During the installation process, you may be asked to input your Windows XP product key. This is typically found on the original Windows XP CD case or in the documentation that came with your computer. Enter the product key when prompted to continue with the installation.
After the installation is complete, your computer will restart and you will need to go through the initial setup process for Windows XP. Follow the on-screen instructions to set up your user account and configure any necessary settings.
Once the setup process is complete, you will have successfully completed the reinstallation of Windows XP on your computer.