Troubleshooting and Fixing GPU Issues
Unlocking the labyrinth of GPU glitches can be an arduous journey for tech enthusiasts and gamers alike. In this article, we delve into the realm of troubleshooting and fixing GPU issues, equipping you with the knowledge and skills to conquer these digital dilemmas with finesse.
Common Signs of a Faulty GPU
1. Visual artifacts or screen glitches: If you notice strange lines, colors, or distortions on your computer monitor while using 3D graphics or playing video games, it could be a sign of a faulty GPU.
2. Frequent crashes or system freezing: A faulty GPU can cause your computer to crash or freeze, especially when running graphics-intensive tasks. If you experience regular blue screen of death (BSOD) errors or sudden system shutdowns, it’s worth checking your GPU.
3. Reduced performance or slow rendering: If your computer’s performance has significantly decreased, or you notice slow rendering in games or graphic-intensive software, a faulty GPU could be the culprit.
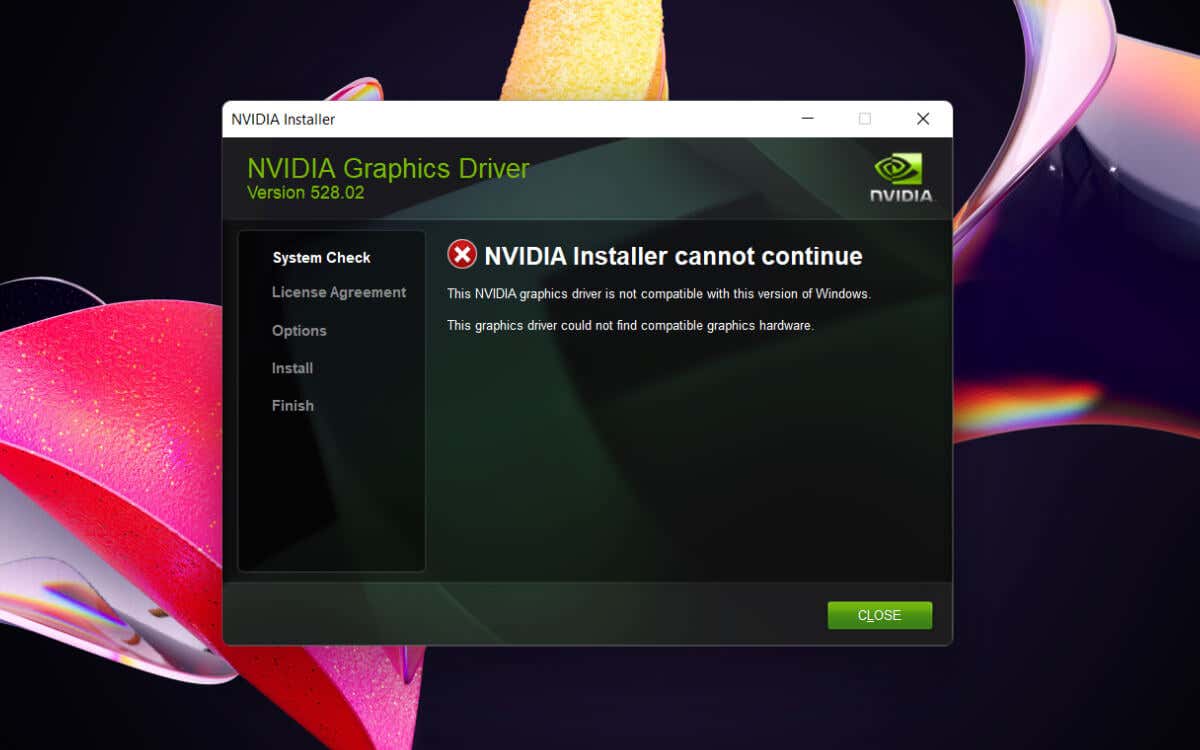
4. Driver issues and error messages: If you receive error messages like “Error Code 43” or “Code 12” in the Device Manager, it’s a clear indication of GPU problems. Additionally, if you are unable to install or update the GPU driver successfully, it could be due to a faulty GPU.
5. Overheating and abnormal noise: If your GPU is not properly cooled, it may overheat, causing the fan to spin faster and produce unusual noise. Excessive heat can damage the GPU and lead to performance issues.
6. No display or black screen: If your computer boots up but you don’t see anything on the screen, or if it goes black after a few minutes of usage, it could be a sign of a faulty GPU.
7. GPU not detected: If your computer fails to recognize the GPU in the Device Manager or other system utilities, there may be an issue with the GPU itself or its connection to the motherboard.
If you encounter any of these signs, it’s important to troubleshoot and fix the GPU issues promptly. Before attempting any fixes, make sure the GPU is properly seated in the PCI Express slot and all power connections are secure. Update the GPU driver to the latest version from the manufacturer’s website. If the issues persist, it may be necessary to replace the faulty GPU.
For detailed troubleshooting steps and additional assistance, refer to your GPU manufacturer’s support website or contact their customer support.
Troubleshooting Tips for GPU Issues
- Make sure the GPU is properly seated in the PCIe slot.
- Ensure the power cables are securely connected to the GPU and power supply.
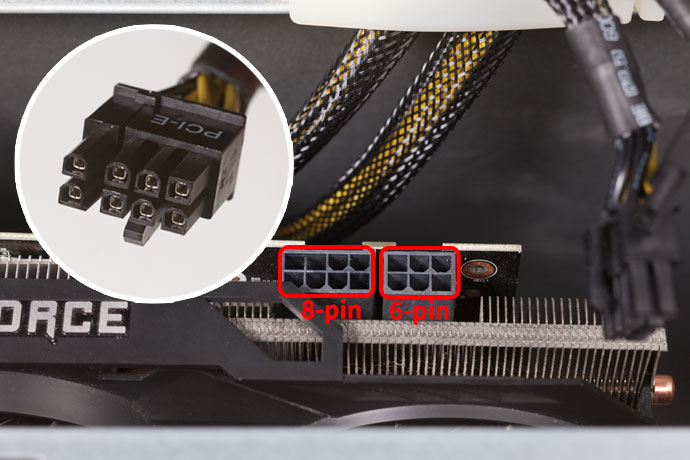
- Check the video cable connection between the GPU and the monitor.
2. Update Graphics Drivers
- Open Device Manager by pressing Win+X and selecting Device Manager.
- Expand the Display adapters category.
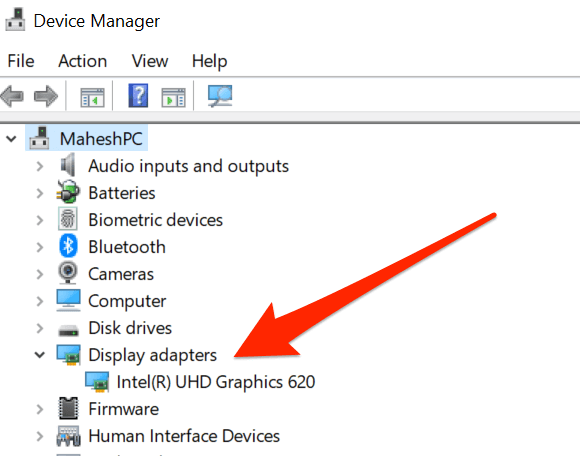
- Right-click on the GPU and select Update driver.
- Choose Search automatically for updated driver software and follow the on-screen instructions.
3. Check for Overheating
- Ensure the GPU fans are spinning and not obstructed by dust or debris.
- Clean the GPU and its heatsink using compressed air to remove any accumulated dust.
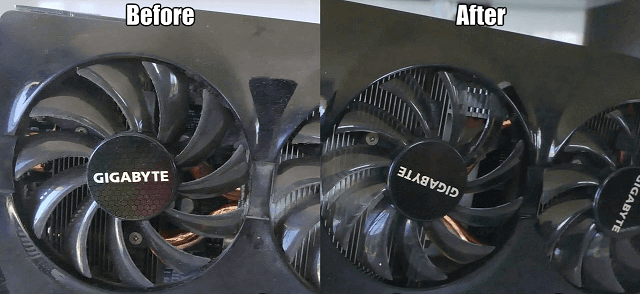
- Consider applying new thermal paste to the GPU if overheating persists.
4. Adjust Power Management Settings
- Right-click on the desktop and select Graphics Options or NVIDIA Control Panel (depending on GPU manufacturer).
- Choose Manage 3D settings or a similar option.
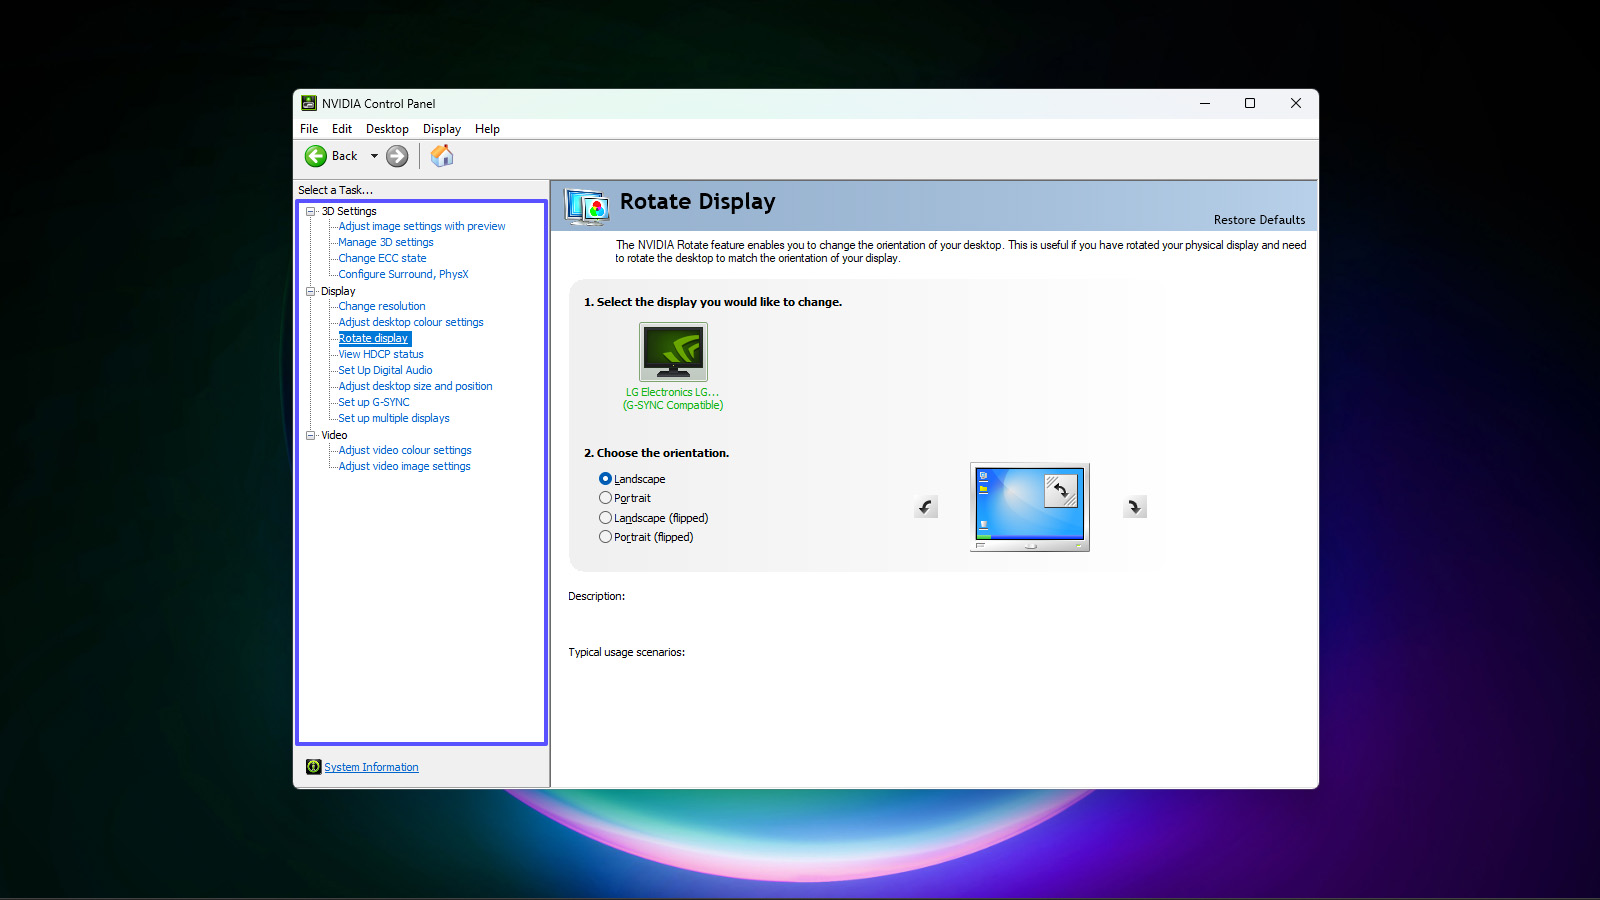
- Set the Power management mode to Prefer maximum performance.
5. Test with a Different GPU or System
- If possible, swap the GPU with a known-working one to determine if the issue lies with the GPU itself.
- Alternatively, test the GPU in a different system to isolate any compatibility or motherboard issues.
Symptoms of a Dying Graphics Card
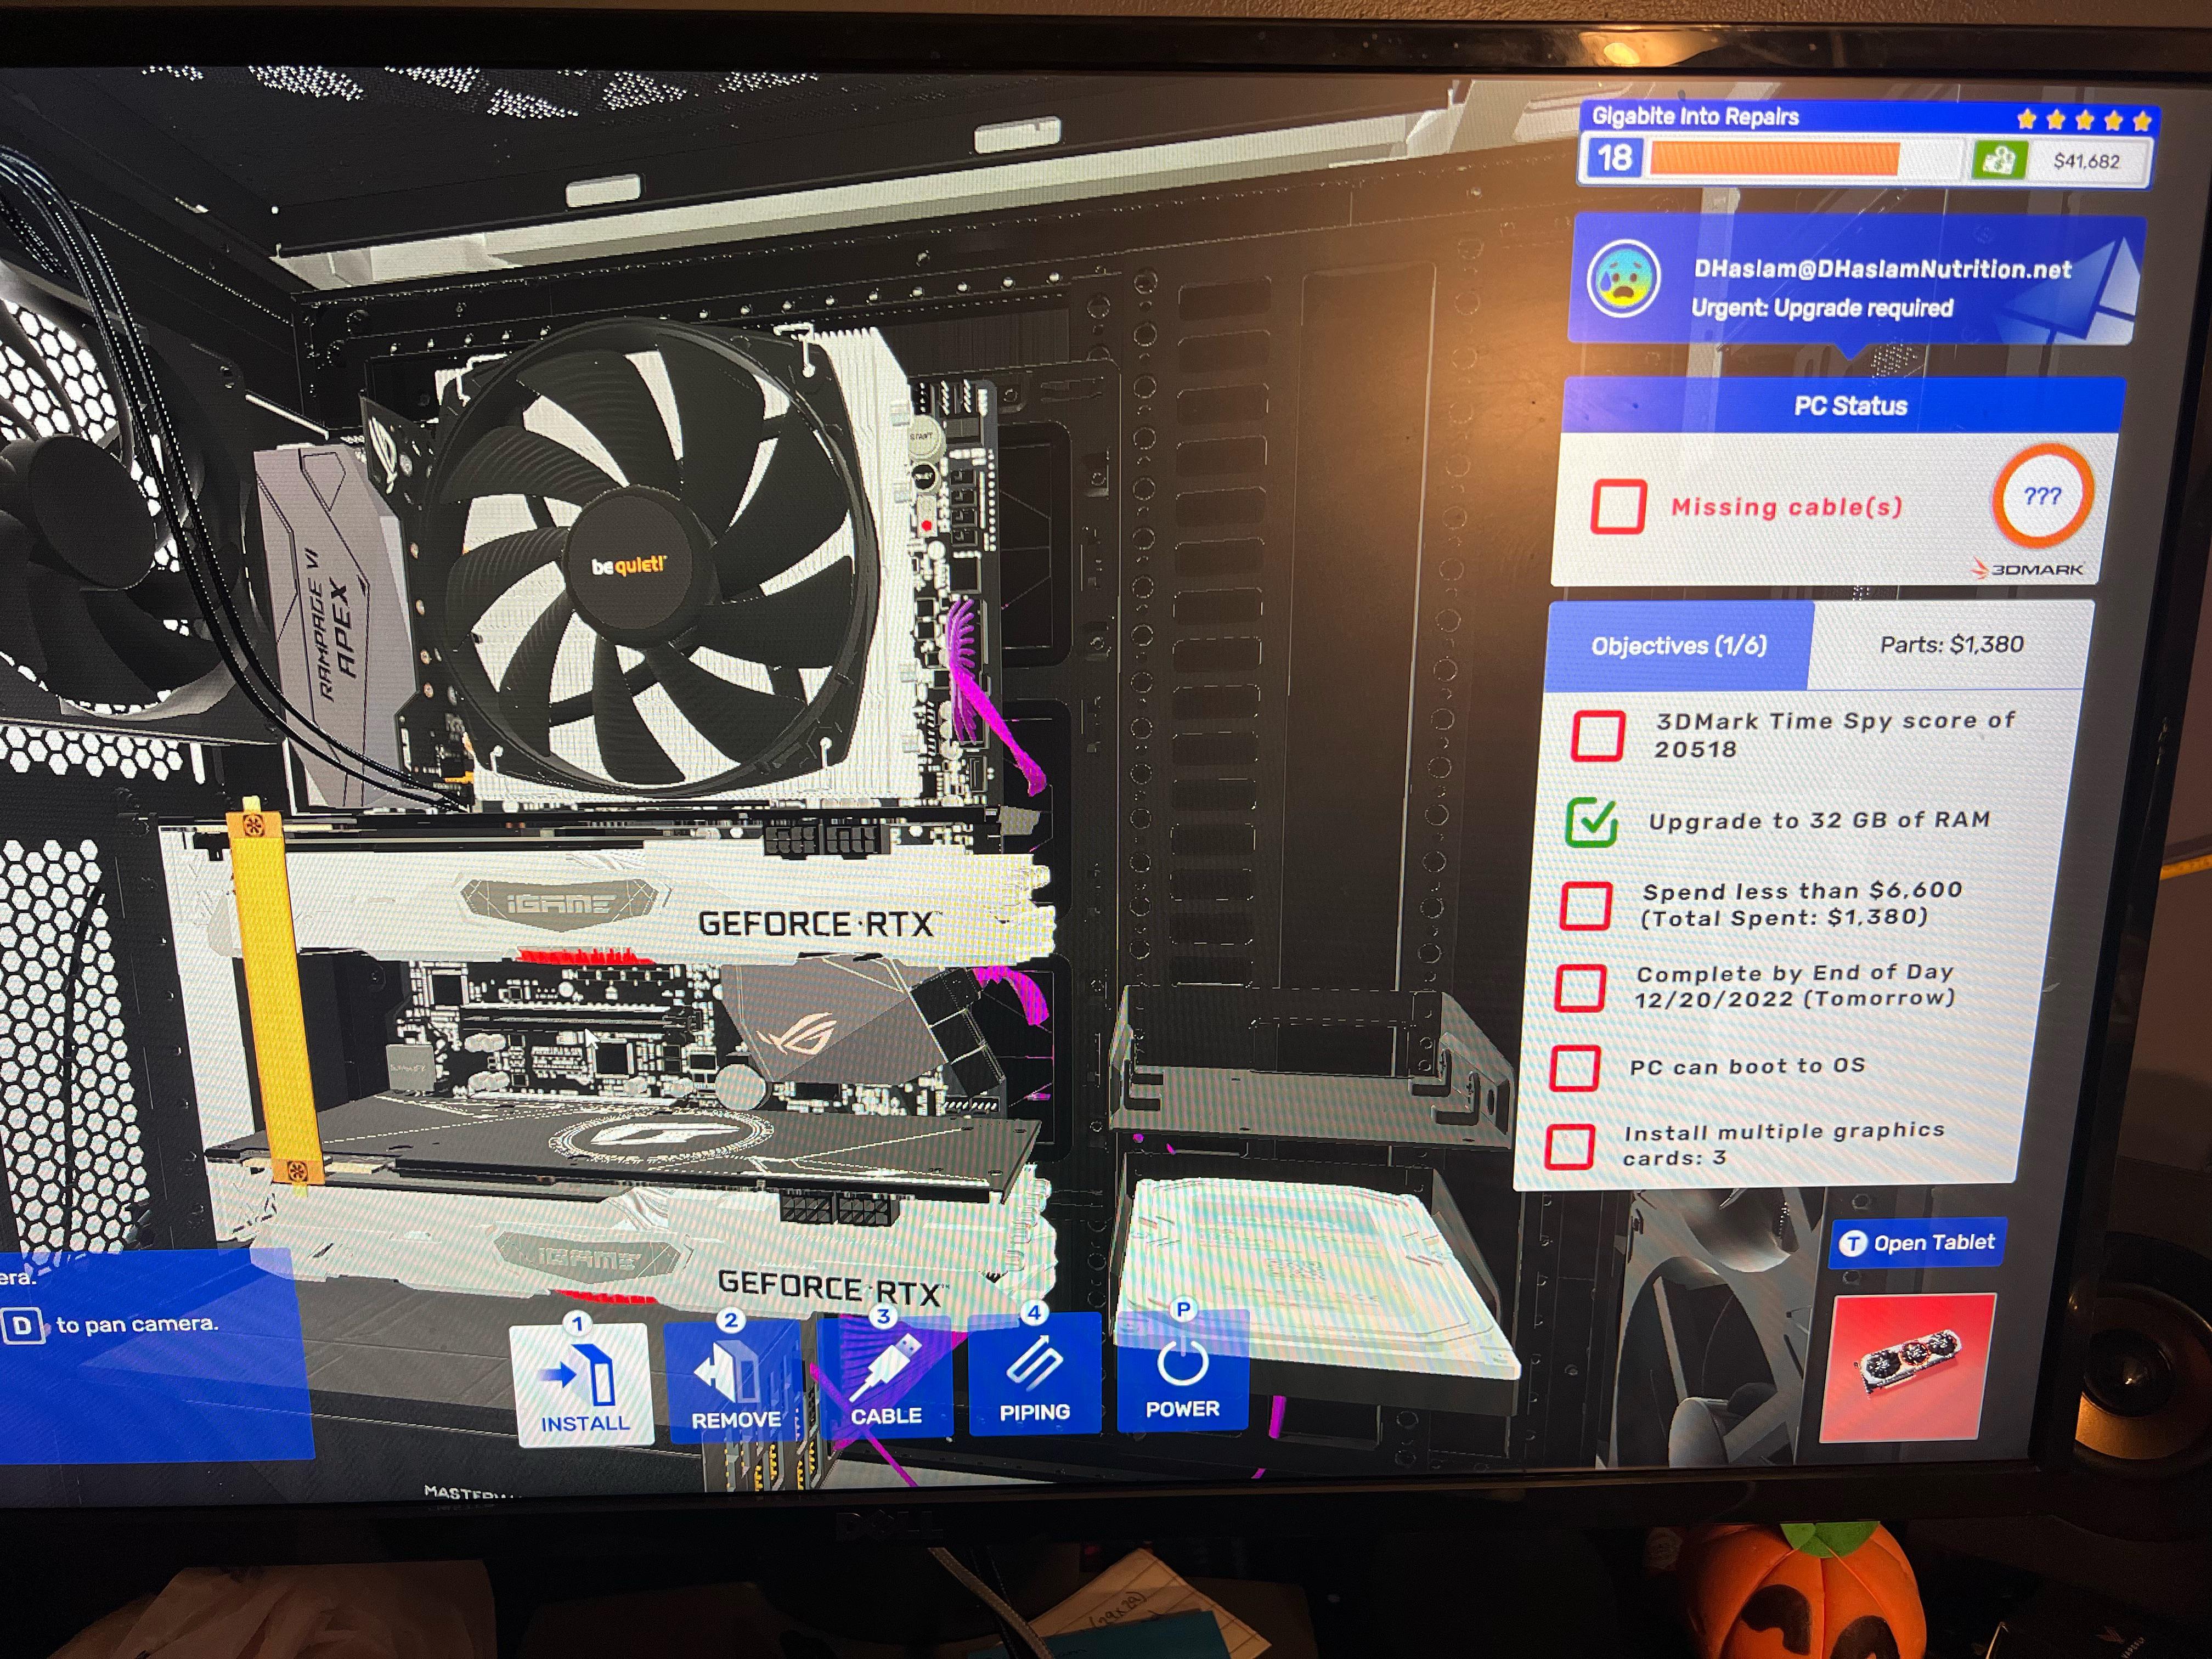
1. Visual artifacts: If you start noticing strange graphical glitches or artifacts on your screen, such as distorted images, flickering, or random colors, it could be a sign that your graphics card is failing.
2. Frequent crashes: A dying graphics card may cause your computer to crash frequently, resulting in a sudden shutdown or a blue screen of death (BSOD). If you experience these issues while running graphic-intensive tasks like gaming or 3D rendering, it’s likely related to your GPU.
3. Reduced performance: A failing graphics card may struggle to keep up with demanding tasks, leading to a significant drop in performance. You might notice lag, stuttering, or a decrease in frame rates when playing video games or running graphics-intensive applications.
4. Driver errors: If you encounter frequent driver errors or receive error codes like “code 43” or “code 12” in Device Manager, it could be an indication of a failing graphics card. These errors often suggest a hardware issue that requires attention.
5. Overheating: Graphics cards generate a lot of heat, and if your GPU is dying, it may struggle to dissipate heat effectively. As a result, you may notice increased temperatures, which can cause your system to shut down or become unstable. Keep an eye on your GPU’s temperature using monitoring software or the Task Manager.
If you experience any of these symptoms, it’s important to troubleshoot the issue promptly. Before replacing your graphics card, try updating your graphics card drivers, reseating the card properly, or checking for any loose connections or cables. If the problems persist, it might be time to consider replacing your graphics card with a new one that meets your system requirements.
Additionally, if the GPU issue is related to missing or corrupt DLL files, Fortect can automatically fix the issue. However, please note that Fortect cannot fix all GPU-related issues.
Steps to Diagnose GPU Problems
- Ensure that the GPU is properly seated in the motherboard slot.
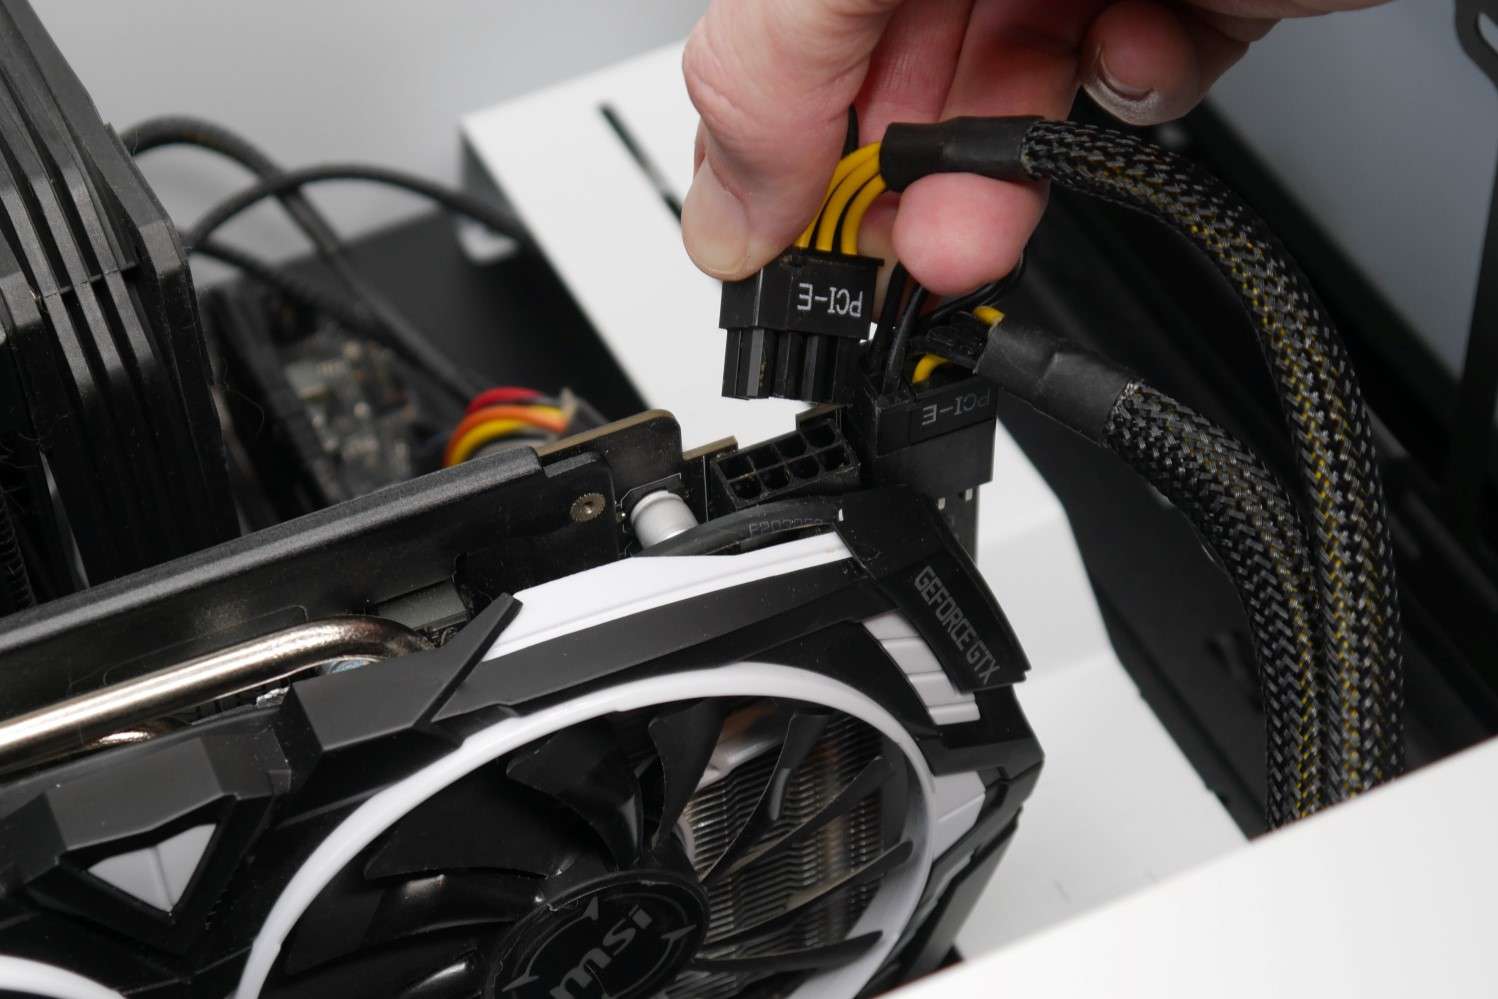
- Check all power cables connected to the GPU and ensure they are securely plugged in.
- Inspect the video cable connection between the GPU and the monitor, ensuring it is tightly connected at both ends.
Step 2: Update GPU Drivers
- Open Device Manager by pressing Win+X and selecting it from the menu.
- Expand the Display Adapters category and right-click on the GPU.

- Choose Update Driver and follow the instructions to install the latest driver version.
Step 3: Clean Dust and Check for Overheating
- Turn off the computer and unplug it from the power source.
- Use compressed air to blow out any dust from the GPU and its cooling fans.
- Ensure that the GPU’s cooling fans are spinning freely and not obstructed.
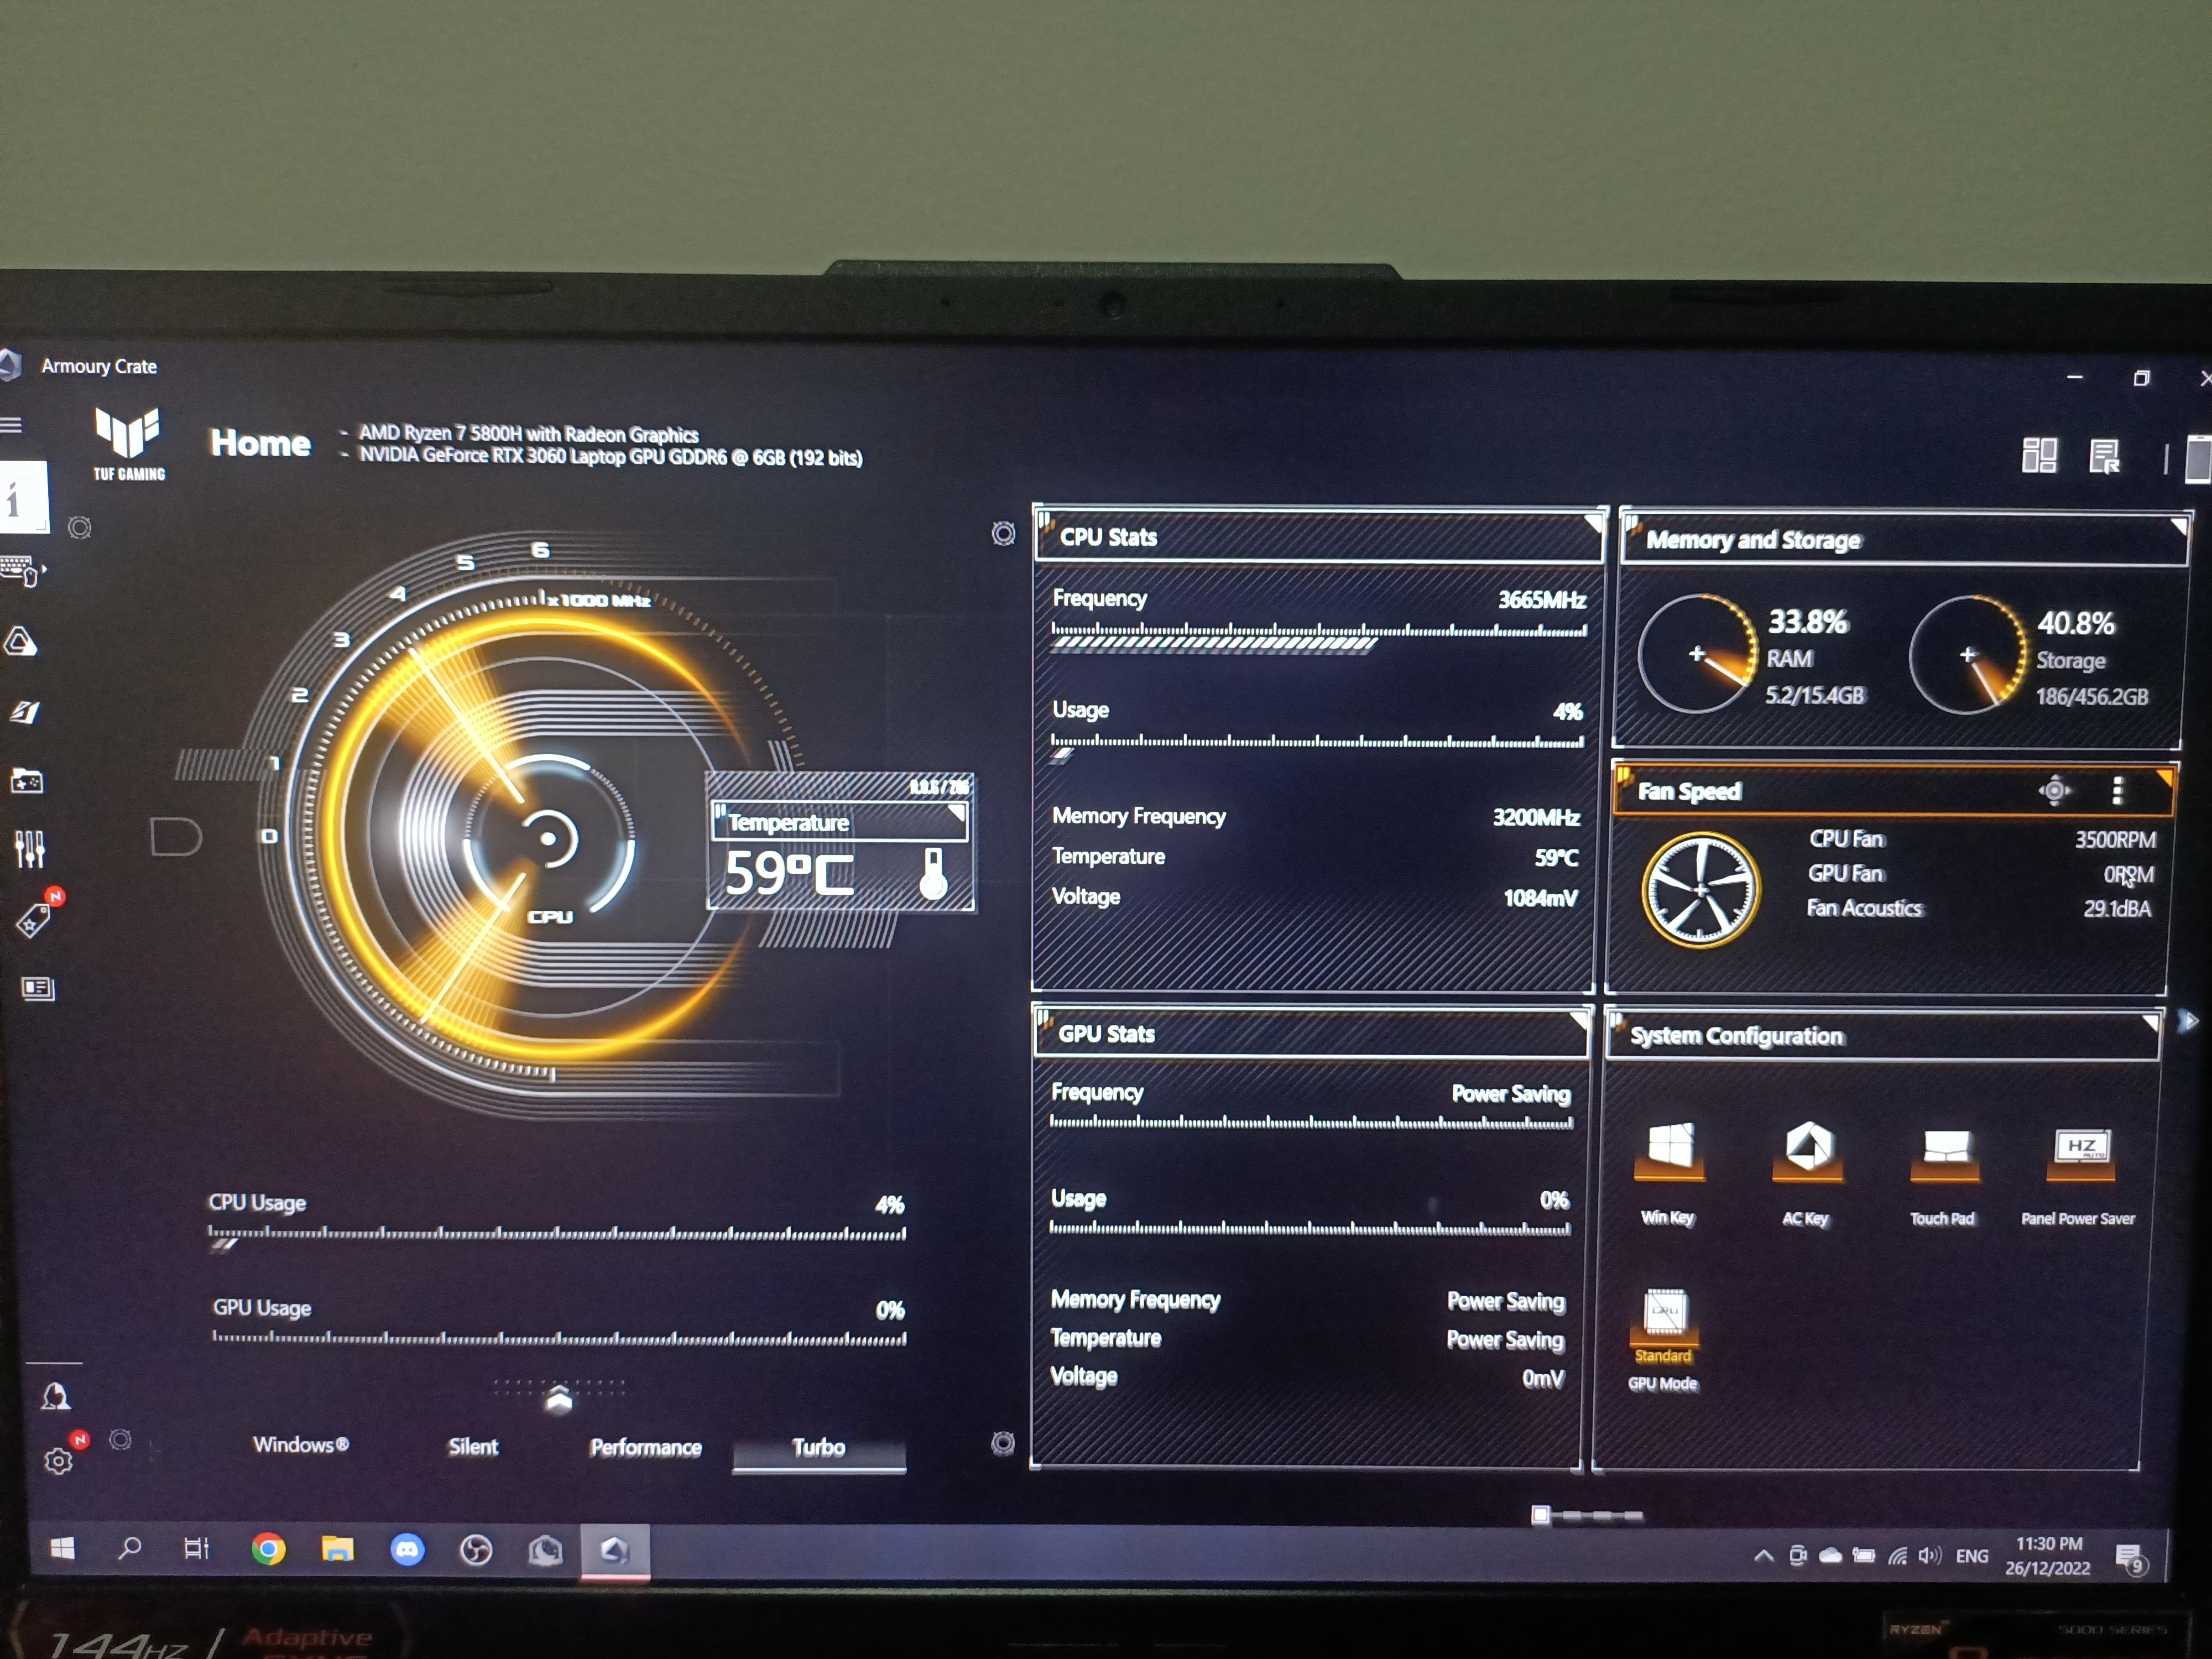
- Check the GPU temperature using monitoring software and ensure it is within safe operating limits.
Step 4: Test GPU in Another System
- Remove the GPU from the current system and install it in another compatible system.
- Boot up the system and check if the GPU functions properly.
- If the GPU works in the other system, the issue may lie with the original system’s configuration or hardware.
Step 5: Reinstall GPU and Perform Clean Installation
- Disconnect all power cables from the computer and open the case.
- Carefully remove the GPU from the motherboard slot.
- Clean the gold contacts on the GPU using a soft cloth or an eraser.
- Reinsert the GPU into the motherboard slot, ensuring it is firmly seated.
- Close the case, reconnect the power cables, and power on the computer.
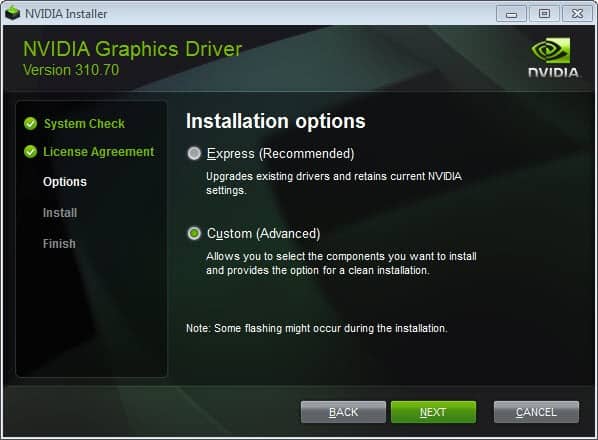
- Perform a clean installation of the GPU drivers following the manufacturer’s instructions.
Effective Fixes for GPU Malfunctions
If your GPU is experiencing issues, there are several effective fixes you can try to resolve the problem.
1. Update your graphics driver:
– Open the Device Manager by pressing the Windows key + X and selecting “Device Manager.”
– Expand the “Display adapters” category and right-click on your GPU.
– Select “Update driver” and choose the option to search automatically for updated driver software.
– If an update is found, follow the on-screen instructions to install it.
2. Check for hardware issues:
– Ensure that your GPU is seated properly in its slot. If it’s a desktop computer, try reseating the GPU.
– Verify that the power supply unit (PSU) is providing enough power for your GPU.
– Inspect the GPU for any physical damage or loose connections.
3. Disable overclocking:
– Overclocking can sometimes cause instability and malfunctions. If you have overclocked your GPU, revert it back to its default settings.
4. Clean and cool your GPU:
– Dust and heat can impact GPU performance. Clean the GPU using compressed air to remove any dust buildup.
– Ensure that the GPU’s heat sink is properly attached and functioning correctly.
5. Use the “Display Driver Uninstaller”:
– If you’re experiencing persistent issues, you can use the Display Driver Uninstaller (DDU) to completely remove your GPU drivers.
– Download the DDU utility from a trusted source and follow the provided instructions to uninstall the drivers.
– After uninstalling, reinstall the latest drivers from the GPU manufacturer’s website.
6. Verify GPU compatibility:
– Ensure that your GPU is compatible with your operating system and other hardware components.
– Check the manufacturer’s website for compatibility information.
7. Troubleshoot in Safe Mode:
– Boot your computer into Safe Mode to determine if any third-party software is causing conflicts with your GPU.
– Press the Windows key + R, type “msconfig,” and hit Enter.
– In the System Configuration window, navigate to the “Boot” tab and check the box next to “Safe boot.”
– Restart your computer and troubleshoot the GPU issues in Safe Mode.
Frequently Asked Questions about GPU Failure
- Check for loose connections
- Power off the computer and unplug it from the wall socket
- Open the computer case
- Locate the GPU and ensure it is securely inserted into the PCIe slot
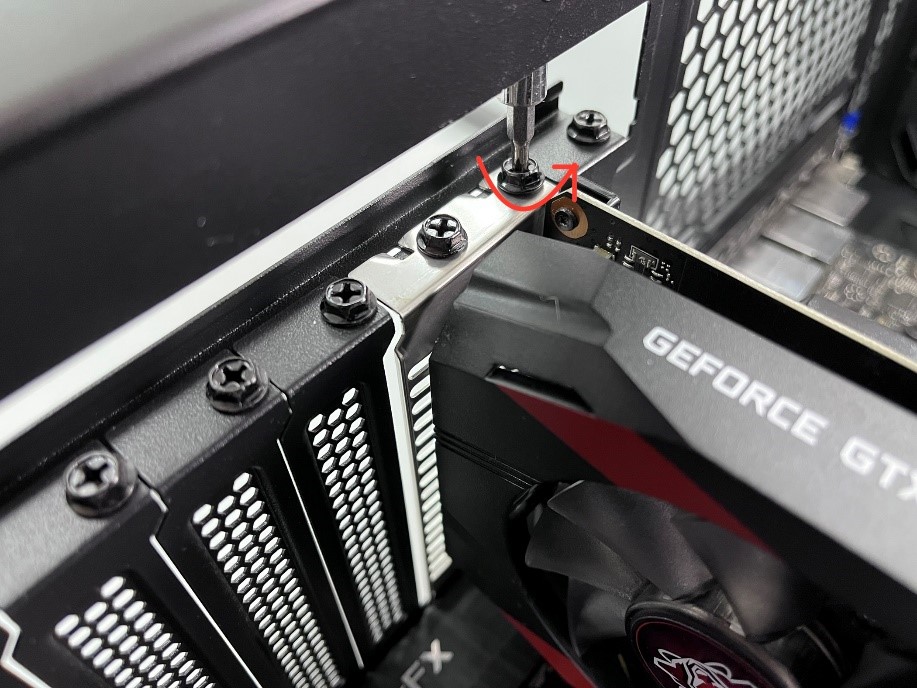
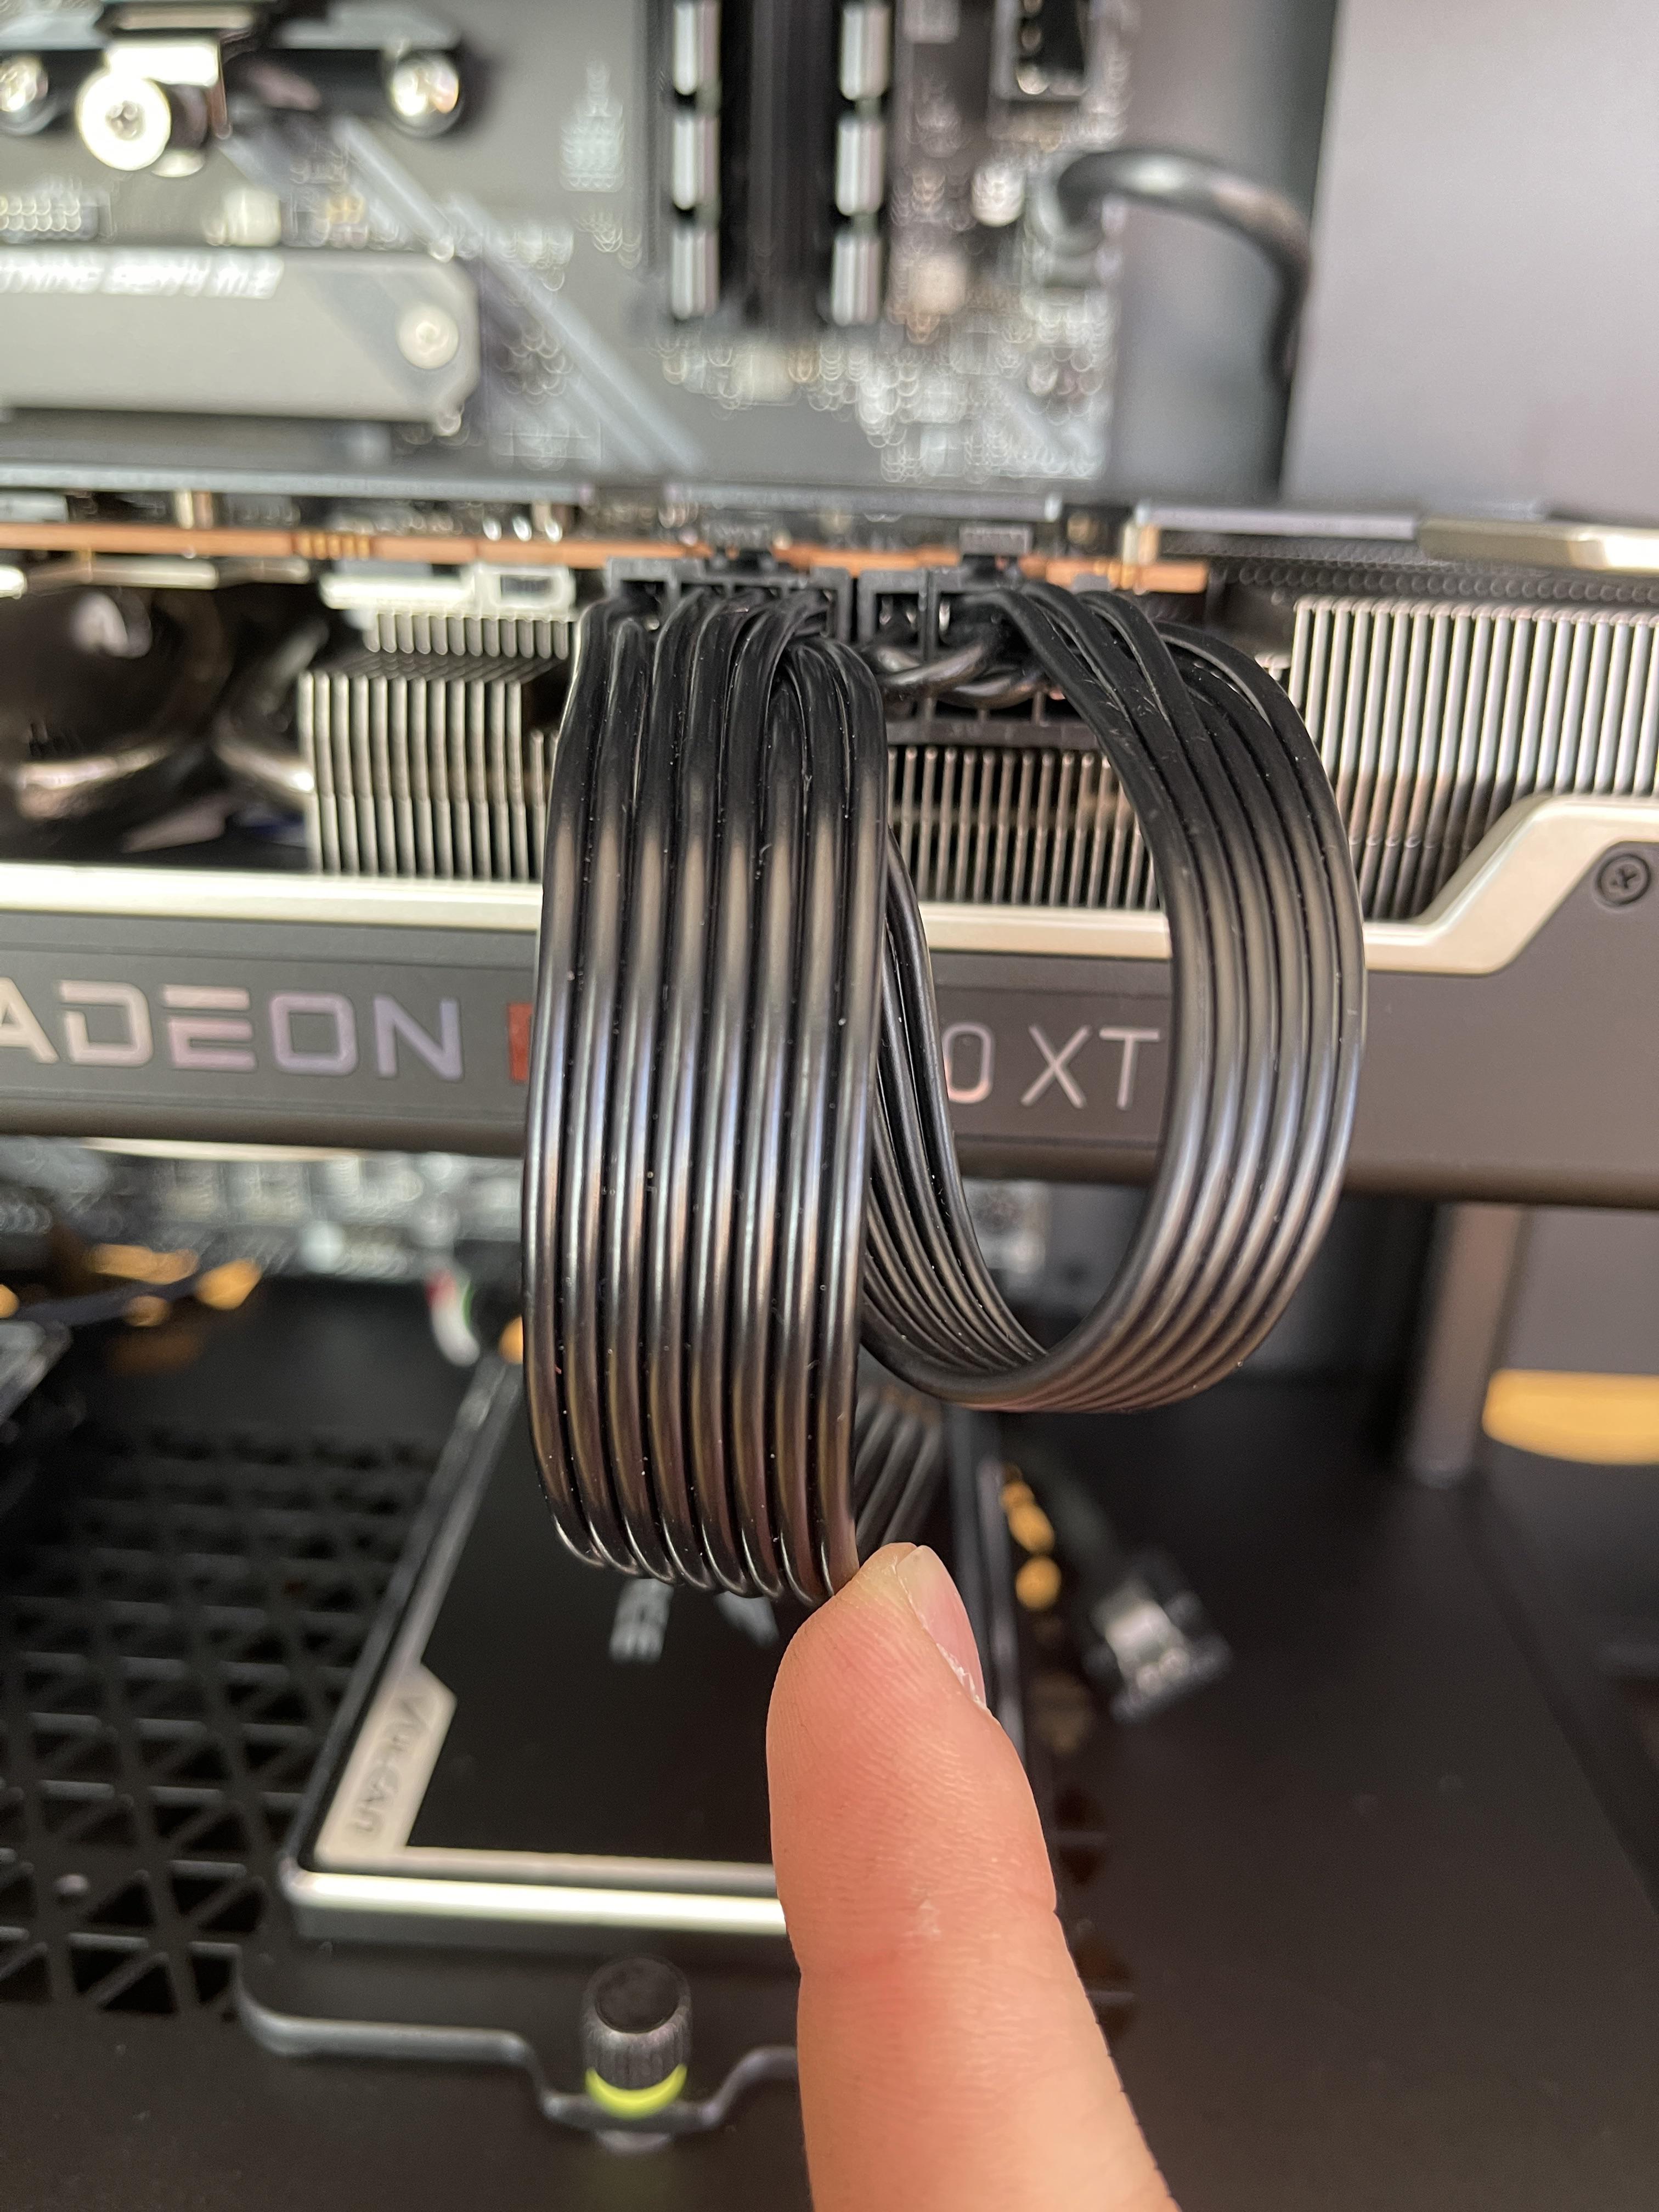
- Check the power connectors and make sure they are properly connected
- Close the computer case and plug it back into the wall socket
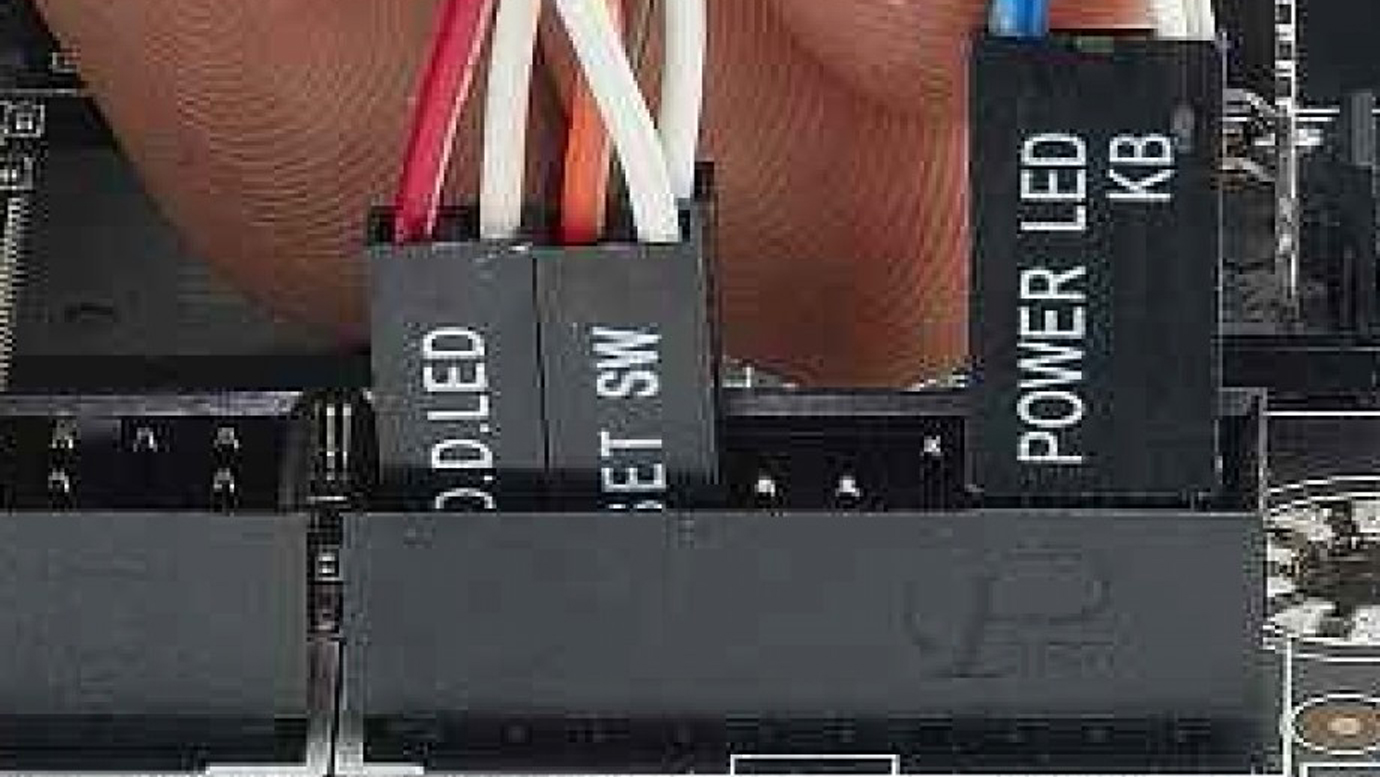
- Power on the computer and check if the GPU is functioning properly
- Update GPU drivers
- Open Device Manager by pressing Windows Key + X and selecting Device Manager
- Expand the category for Display adapters
- Right-click on the GPU and select Update driver
- Choose the option to search automatically for updated driver software
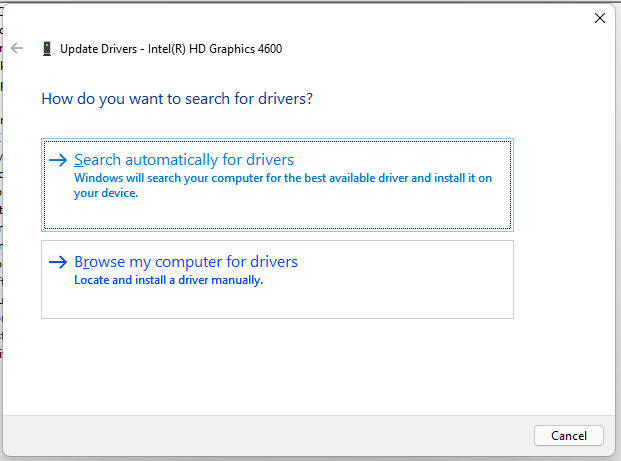
- Wait for the driver update process to complete
- Restart the computer and check if the GPU issue is resolved
- Monitor GPU temperature
- Download and install a reputable GPU monitoring software
- Open the GPU monitoring software
- Check the current temperature of the GPU
- If the temperature is within the safe range (usually below 80°C), the GPU is not overheating
- If the temperature is too high, consider cleaning the GPU and its cooling system or replacing thermal paste
- Check for dust or debris
- Power off the computer and unplug it from the wall socket
- Open the computer case
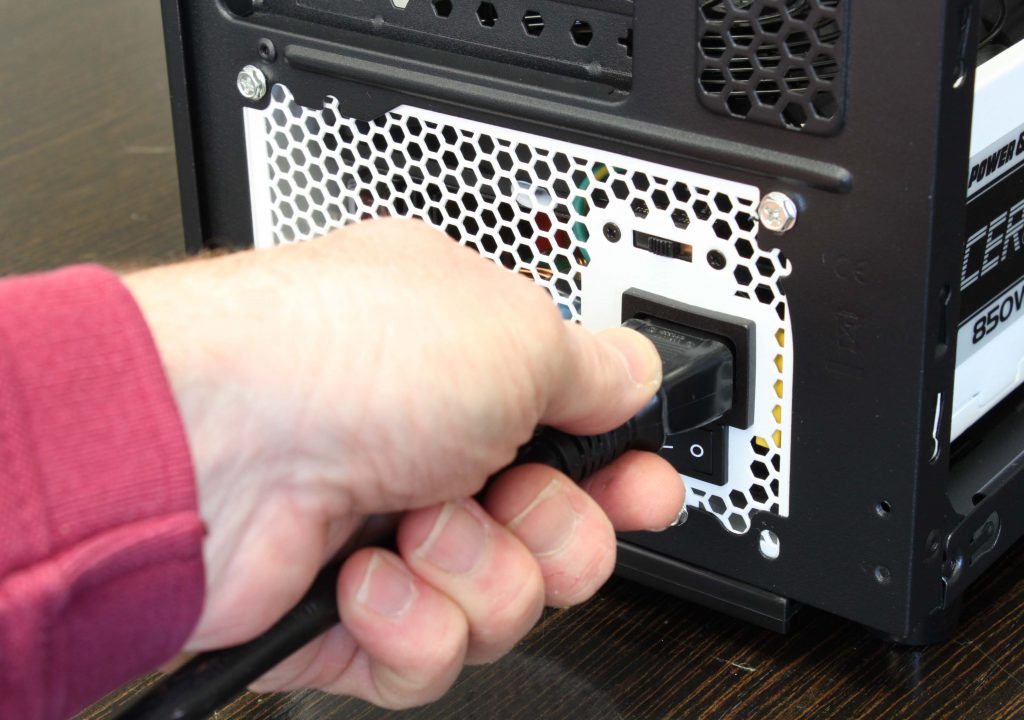
- Inspect the GPU and its cooling system for any dust or debris buildup
- Use compressed air or a soft brush to carefully remove the dust or debris
- Close the computer case and plug it back into the wall socket
- Power on the computer and check if the GPU issue is resolved
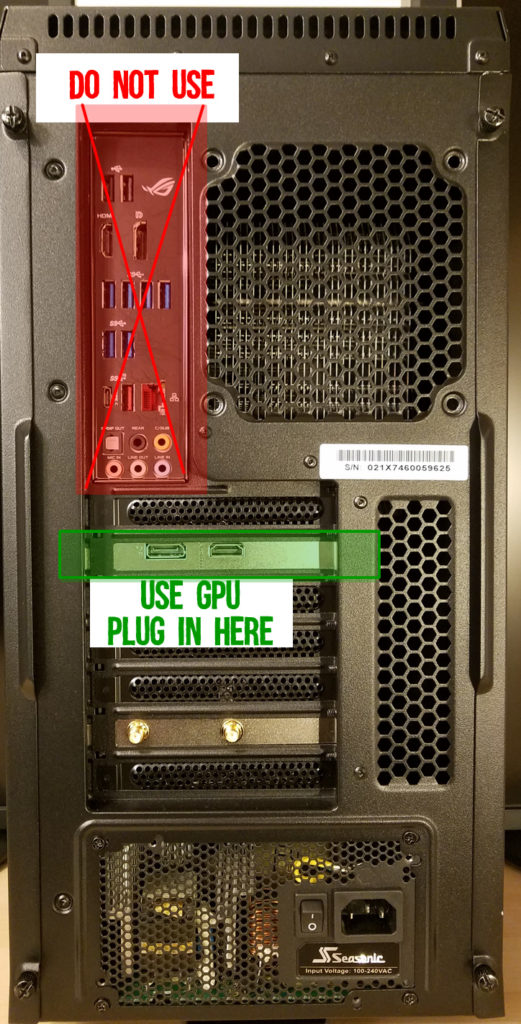
- Test the GPU in another system
- Power off both computers and unplug them from the wall socket
- Remove the GPU from the original system
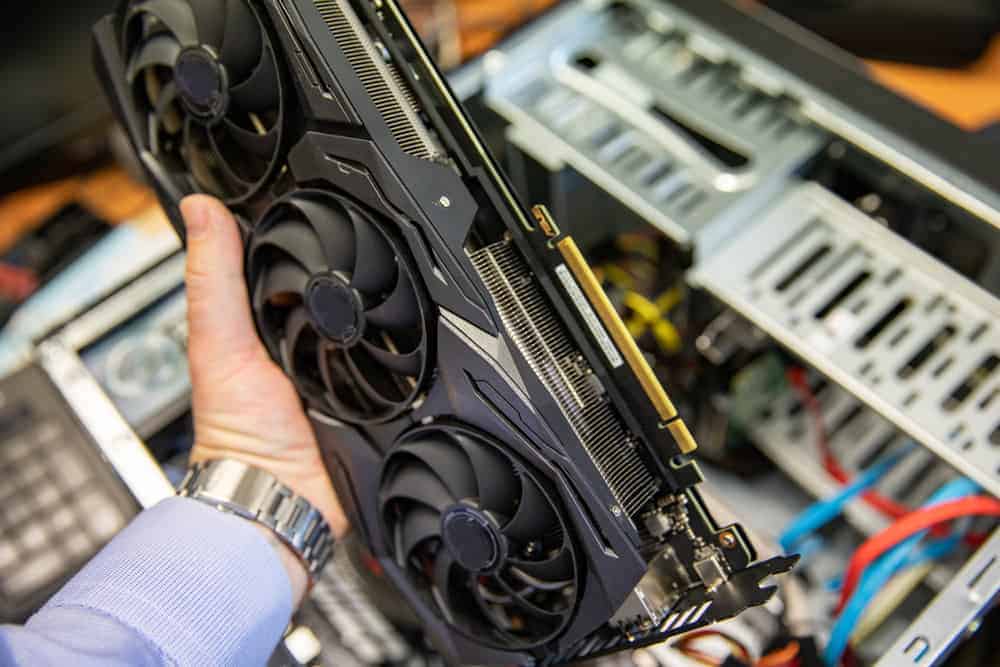
- Insert the GPU into another system’s PCIe slot
- Connect the necessary power cables
- Power on the second system and check if the GPU functions properly
- If the GPU works fine in the second system, the issue may be with the original system’s hardware or software
Precautions to Maintain a Healthy Graphics Card
To maintain a healthy graphics card, follow these precautions:
1. Ensure proper seating: Make sure your graphics card is securely and correctly installed in its slot. Improper seating can cause connection issues and performance problems.
2. Clean regularly: Dust and debris can accumulate on the graphics card, leading to overheating. Regularly clean the card using compressed air or a soft brush to prevent any potential damage.
3. Monitor temperature: Keep an eye on the temperature of your graphics card using software like MSI Afterburner or Task Manager. If the temperature exceeds safe levels, consider improving airflow or adding additional cooling solutions.
4. Update drivers: Regularly update your graphics card drivers to ensure optimal performance and compatibility with the latest games and software. Visit the manufacturer’s website (such as Nvidia or AMD) to download the latest drivers.
5. Power supply: Ensure that your power supply unit (PSU) can provide sufficient power to your graphics card. Insufficient power can cause stability issues and system crashes.
6. Avoid overclocking: While overclocking can boost performance, it also increases heat and stress on the graphics card. If you’re not experienced with overclocking, it’s best to avoid it to prevent potential damage.
7. Check for visual artifacts: Keep an eye out for any visual abnormalities, such as flickering, artifacts, or distorted graphics. These can indicate hardware issues and may require troubleshooting or even replacement of the graphics card.
Beware, the GPU is not functioning correctly and may cause performance issues. Download this tool to run a scan


