Fix Windows 10 File Preview Pane Not Working – 8 Ways
Are you experiencing issues with the file preview pane in Windows 10? Here are 8 ways to fix the problem and get it working again.
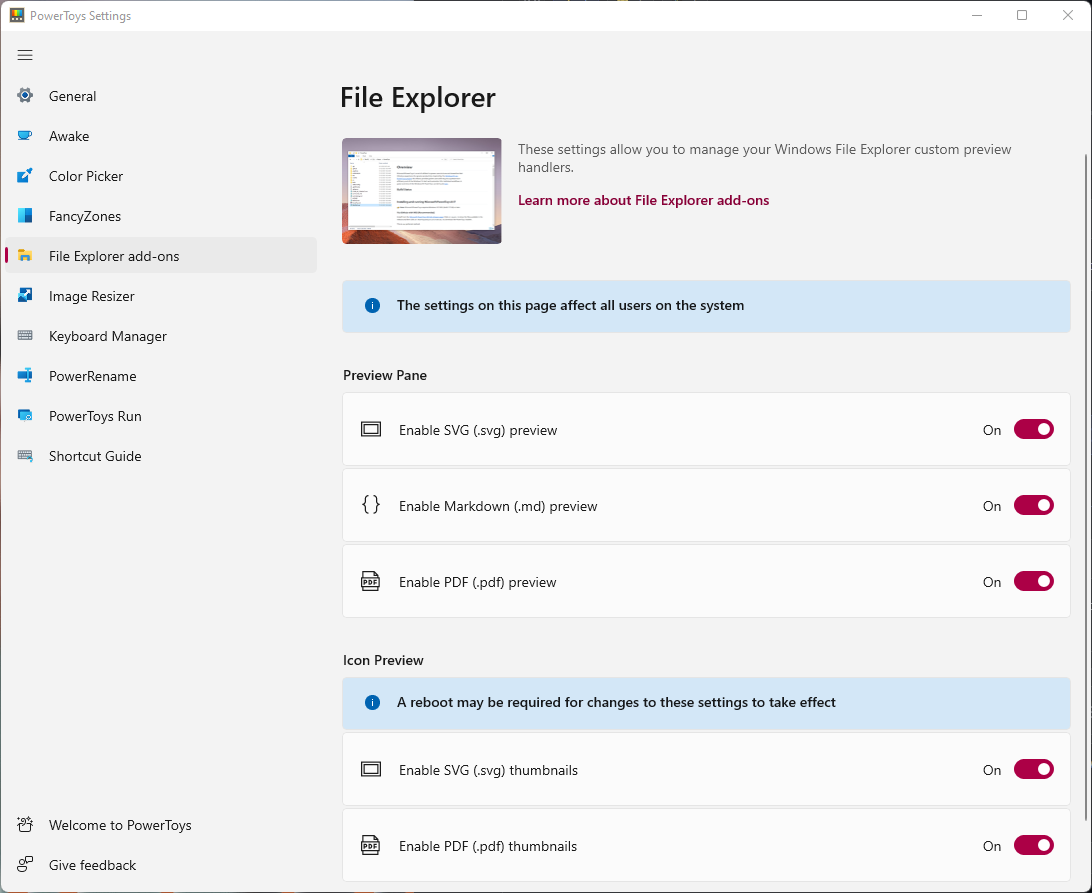
Adjust File Explorer Settings
Clear File Explorer Cache: Another way to fix the issue is by clearing the File Explorer cache. To do this, open the “Run” dialog by pressing the Windows key + R, then type “shell:cache” and hit Enter. This will open the Cache folder, where you can select all the files and delete them to clear the cache.
Reset File Explorer: If the issue persists, you can try resetting File Explorer settings. Open the Task Manager (Ctrl + Shift + Esc), go to the “Processes” tab, and end the “File Explorer” process. Then, click on “File” and select “Run new task.” Type “explorer.exe” and check the box for “Create this task with administrative privileges” before clicking “OK.”
By adjusting these settings and clearing the cache, you can resolve the Windows 10 file preview pane not working issue.
However, if the issue is unrelated to these specific causes, Fortect may not be able to fix it.

Optimize Visual Effects
To optimize visual effects in Windows 10 and fix the file preview pane not working, there are a few key steps you can take. First, check for any updates to your operating system and make sure you are running the latest version of Windows 10. You can do this by going to Settings > Update & Security > Windows Update.
Next, you can optimize the visual effects by adjusting the performance settings. To do this, right-click on the Start button and select System. Then, click on Advanced system settings and go to the Advanced tab. Under Performance, click on Settings and select Adjust for best performance.
You can also optimize visual effects by disabling unnecessary animations and visual effects. To do this, right-click on This PC or My Computer and select Properties. Then, click on Advanced system settings and go to the Advanced tab. Under Performance, click on Settings and select Custom. From there, you can uncheck the options for animations and visual effects that you do not need.
Another way to optimize visual effects is by clearing the thumbnail cache. To do this, open File Explorer and go to the View tab. Then, click on Options and select Change folder and search options. Under the View tab, check the option to Show hidden files, folders, and drives and uncheck the option for Hide protected operating system files. Then, go to the thumbnail cache location (C:\Users\[Your Username]\AppData\Local\Microsoft\Windows\Explorer) and delete the files.
Perform System File Checks
- Open Command Prompt as an administrator by searching for it in the Start menu, right-clicking on it, and selecting Run as administrator.
- Type sfc /scannow and press Enter to initiate the system file check. This will scan for and repair any corrupted or missing system files.
- Wait for the process to complete, which may take some time. Once finished, restart your computer and check if the file preview pane is now working properly.
Restore or Reset Configuration
To restore or reset the configuration for the File Preview Pane in Windows 10, you can use the Control Panel. Open the Control Panel and navigate to “File Explorer Options. ” Under the “View” tab, click on “Reset Folders” to restore the default settings for the File Explorer. If this doesn’t work, you can also try resetting the File Explorer settings by using the Task Manager.
Press Ctrl + Shift + Esc to open the Task Manager, then find “Windows Explorer” under the “Processes” tab and click on “Restart. ” If the issue persists, you can try resetting the File Explorer settings to default using the “Run” command. Press Win + R to open the Run command, then type “shell: AppsFolder” and press Enter.
Right-click on “Windows File Explorer” and select “Advanced options,” then click on “Reset” to restore the app to its default settings.
Be cautious when using Windows 10 as the file preview feature may not work properly. Download this tool to run a scan