GfxUI Stopped Working Windows 7
Windows 7 is a widely-used operating system that has been around for over a decade.
Turn on Microsoft .NET Framework 3.5.1 to Fix GfxUI Issues
If you’re experiencing GfxUI issues on your Windows 7 computer, turning on Microsoft .NET Framework 3.5.1 can be a quick and easy fix. This framework is a software component that allows applications to run on Windows operating systems.
To turn on .NET Framework 3.5.1, go to the Control Panel and select “Programs and Features.” From there, click on “Turn Windows features on or off” and look for .NET Framework 3.5.1. Check the box next to it and click “OK.”
Once you’ve turned on .NET Framework 3.5.1, restart your computer and see if the GfxUI issues have been resolved. This fix is especially useful if you’ve recently upgraded to Windows 7 or if you’re experiencing issues with graphics on your computer.
Update Your Graphics Card Driver to Resolve GfxUI Stopped Working
Updating your graphics card driver is essential for keeping your computer running smoothly and resolving various issues. If you are facing the “GfxUI stopped working” error message on Windows 7, it is likely due to outdated or corrupted graphics card drivers.
To update your graphics card driver, go to the manufacturer’s website and search for the latest driver for your specific card and operating system. Download and install the driver, then restart your computer.
If you are unsure of the make and model of your graphics card, you can find this information in the Device Manager under the Display Adapters section.
Regularly updating your graphics card driver can also improve system performance and prevent other errors from occurring. Don’t let the “GfxUI stopped working” error slow down your computer – update your graphics card driver today.
import subprocess
def run_sfc_scan():
try:
subprocess.run(“sfc /scannow”, check=True)
print(“SFC scan completed successfully.”)
except subprocess.CalledProcessError as e:
print(“Error running SFC scan:”, e)
This code can be used as part of a larger diagnostic tool that checks for common causes of “gfxui stopped working windows 7.”
Clean Reinstall Intel Graphics Card Driver to Fix GfxUI Issues
If you’re experiencing GfxUI issues on your Windows 7 computer, it may be time to clean reinstall your Intel Graphics Card Driver. This can help fix common problems such as graphic glitches, freezing, and crashing.
To get started, visit the Intel website and locate the appropriate driver for your graphics card. Before you begin the installation process, be sure to completely uninstall the old driver first. This will ensure a clean installation and prevent any conflicts with the new driver.
Once the old driver is uninstalled, restart your computer and begin the installation process for the new driver. Follow the prompts and instructions carefully to ensure a successful installation. After the installation is complete, restart your computer once again to ensure that the new driver is fully integrated.
By clean reinstalling your Intel Graphics Card Driver, you can effectively troubleshoot and fix common GfxUI issues on your Windows 7 computer.
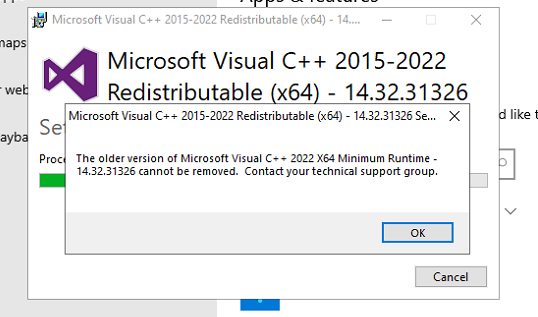
Reinstall Microsoft .NET Framework and Microsoft Visual C++ Redistributable to Fix GfxUI Issues
- Download the latest version of Microsoft .NET Framework and Microsoft Visual C++ Redistributable from their respective websites.
- Uninstall the current version of Microsoft .NET Framework and Microsoft Visual C++ Redistributable through the Control Panel.
- Restart the computer to ensure all files associated with the previous versions are removed.
- Run the setup files for both Microsoft .NET Framework and Microsoft Visual C++ Redistributable.
- Follow the installation wizard to complete the installation process.
- Restart the computer to ensure all changes take effect.
- Test the GfxUI issues to ensure they have been resolved.
Uninstall LogMeIn to Resolve GfxUI Stopped Working
Uninstalling LogMeIn can be a solution to fix the “GfxUI stopped working” error in Windows 7. This error message usually appears when there is a conflict between LogMeIn and the graphics driver.
To uninstall LogMeIn, go to the Control Panel and click on “Programs and Features.” Look for LogMeIn in the list of installed programs and select it. Click on “Uninstall” and follow the prompts to complete the process.
Once LogMeIn is uninstalled, restart your computer and check if the “GfxUI stopped working” error is still occurring. If the error persists, you may need to update your graphics driver or seek further assistance.
It is important to note that uninstalling LogMeIn may affect any remote connections or access you have set up using the software. Be sure to review any relevant documentation or consult with IT support before proceeding with the uninstallation.