Ways to Fix HDMI Not Displaying on Monitor
Troubleshooting HDMI connectivity issues can be a frustrating experience, especially when your monitor fails to display anything. In this article, we will explore some effective ways to resolve HDMI not displaying on the monitor, helping you get back to enjoying seamless connectivity and uninterrupted viewing experience.
Troubleshooting HDMI Connection Issues
If you’re experiencing HDMI connection issues and your monitor isn’t displaying anything, there are a few troubleshooting steps you can try.
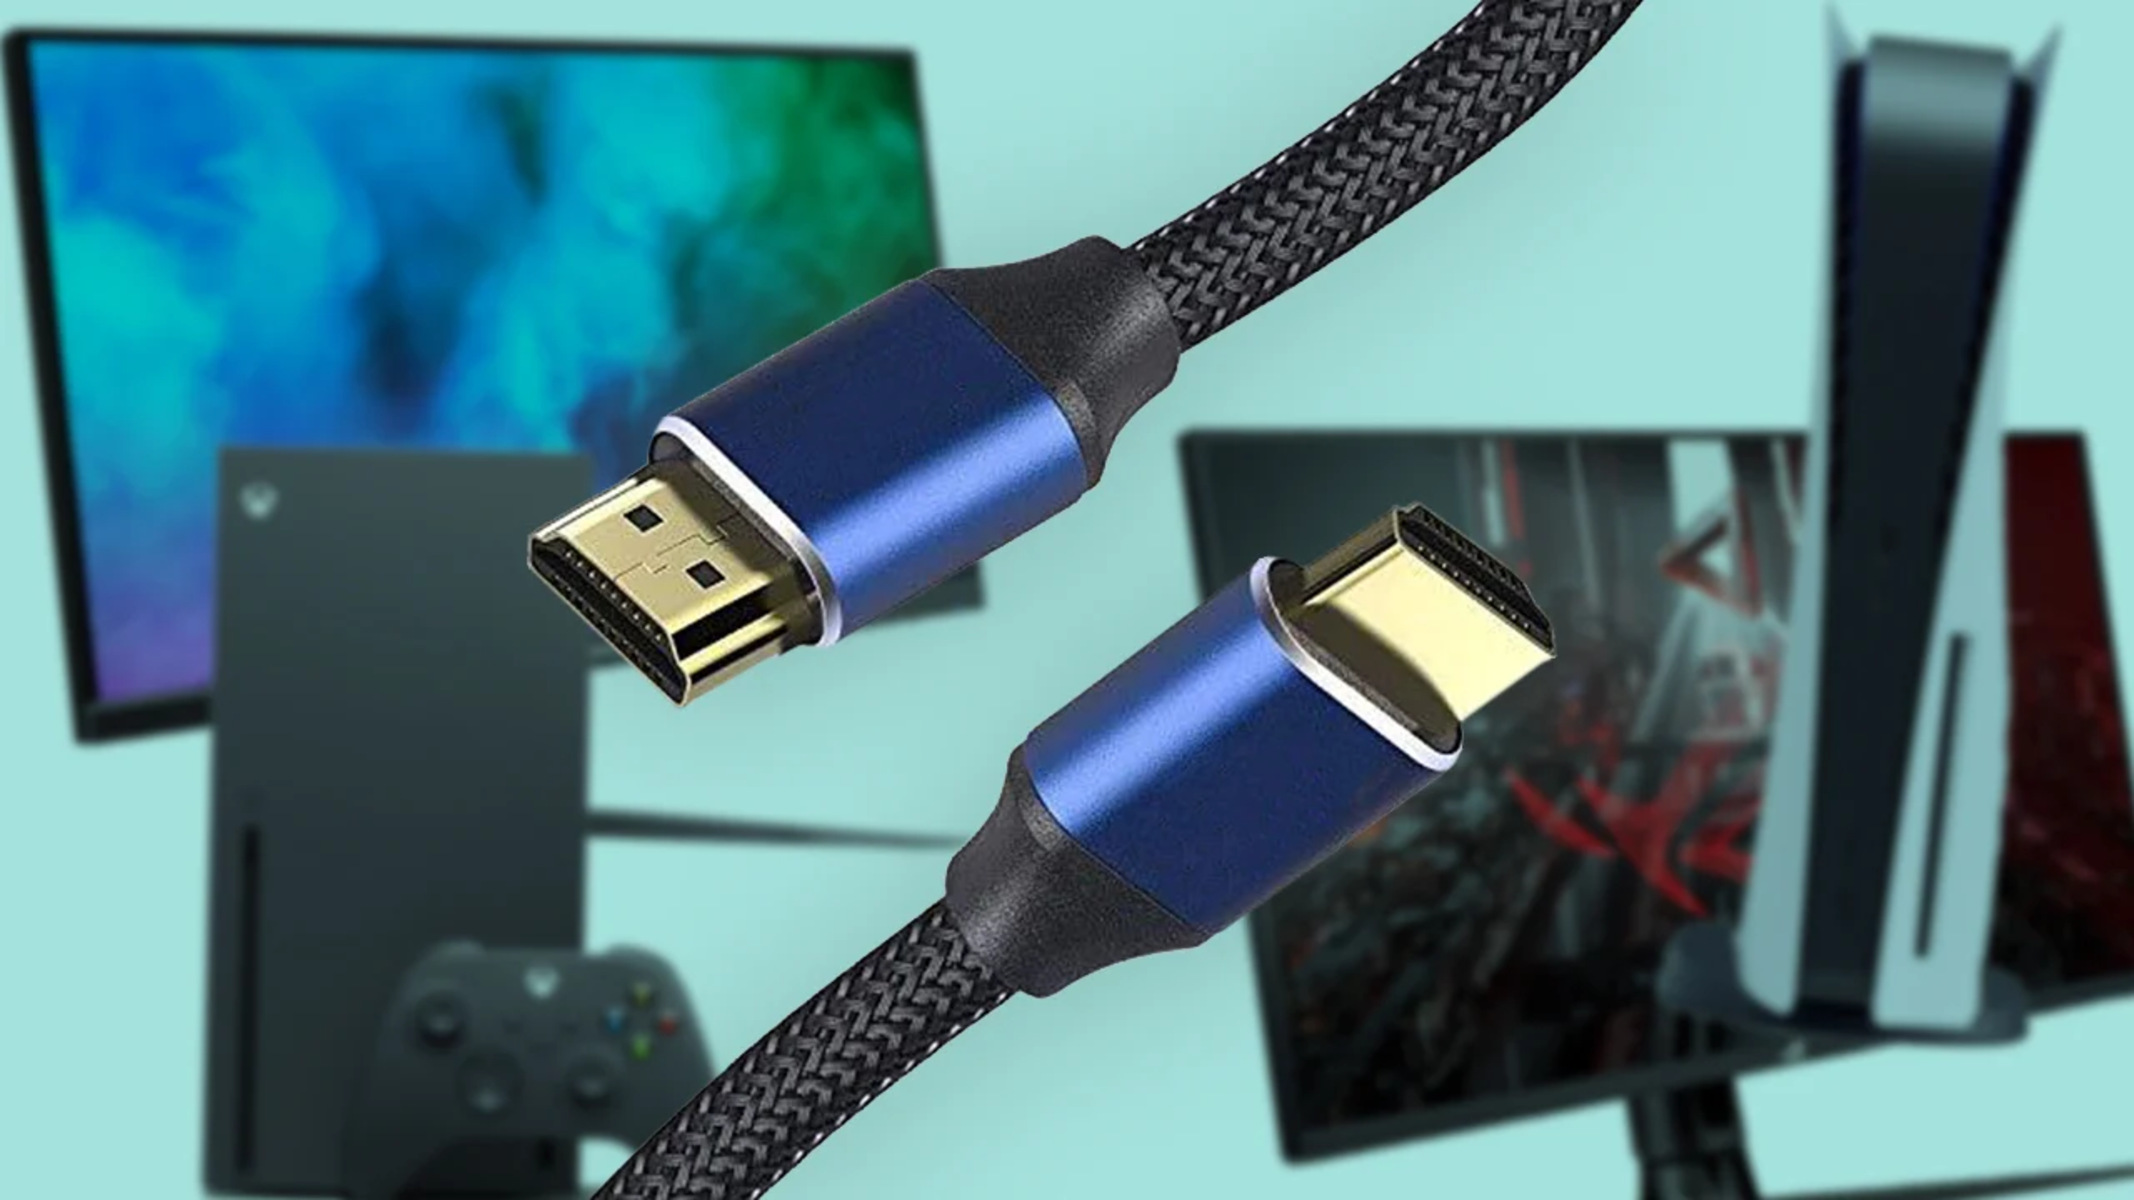
1. Check the HDMI cable: Make sure the cable is securely connected to both your computer and the monitor. If there are any signs of cable breakage, consider using a different HDMI cable.
2. Update graphics drivers: Outdated or faulty graphics drivers can cause HDMI display problems. Use Driver Easy to easily update your graphics drivers.
3. Check the HDMI port: Ensure that you’ve selected the correct HDMI port on both your computer and the monitor. Use the Source or Input button on your TV/monitor to cycle through the available input sources.
4. Adjust resolution settings: Sometimes, the resolution settings on your computer may not match the capabilities of your monitor. Go to Display Settings in Windows and adjust the resolution accordingly.
Checking and Switching HDMI Cables and Ports
- Inspect the HDMI cable for any visible damage or loose connections.
- If there are any noticeable issues with the cable, try using a different HDMI cable.
- Make sure the HDMI cable is securely connected to both the monitor and the device (e.g., computer, game console).
- Check if the HDMI cable is properly inserted into the correct HDMI port on the monitor and the device.
- If the monitor has multiple HDMI ports, try connecting the HDMI cable to a different HDMI port on the monitor.
- If possible, test the monitor with a different device using the same HDMI cable.
- If the issue persists, try using a different HDMI port on the device (e.g., computer, game console).
- Verify that the correct input source is selected on the monitor. Use the monitor’s menu or buttons to navigate to the input source settings and ensure HDMI is selected.
- Restart the monitor and the device to reset the HDMI connection.
Ensuring Proper Display Input and Projection Settings
To ensure proper display input and projection settings for HDMI not displaying on a monitor, follow these steps:
1. Check the HDMI cable: Ensure that the cable is securely connected to both the computer and the monitor. If there is any visible damage or cable breakage, replace the HDMI cable.
2. Update the graphics driver: Use Driver Easy or check the manufacturer’s website to download and install the latest graphics driver for your Windows PC.
3. Check display settings: Right-click on the desktop and select “Display settings.” Make sure the correct HDMI source is selected as the primary display output.
4. Try different HDMI ports: If your TV or monitor has multiple HDMI ports, try connecting the HDMI cable to a different port to rule out any issues with a particular port.
5. Reset display settings: If the monitor isn’t receiving any signal, press the Source or Input button on your TV/monitor remote to cycle through different input sources until the HDMI signal is detected.
Additionally, if the issue is related to missing or corrupt DLL files, Fortect can automatically fix those as well. It’s worth considering Fortect as a potential solution to help troubleshoot and resolve your HDMI display problem.

Removing and Reinstalling RAM for Display Detection
Removing and reinstalling RAM can sometimes help resolve display detection issues when using HDMI. Follow these steps:
1. Turn off your PC and unplug it from the power source.
2. Open your PC case and locate the RAM modules.
3. Gently press the clips on the sides of the RAM module to release it.
4. Carefully remove the RAM module from its slot.
5. Wait for a few seconds, then reinsert the RAM module into the slot firmly.
6. Make sure it clicks into place and the clips lock it in.
7. Close the PC case, plug in your PC, and turn it on.
If the issue persists, try other troubleshooting methods mentioned in this article.
Updating Graphics and Chipset Drivers
To update your graphics and chipset drivers, follow these steps:
1. Press the Windows key + X and select Device Manager.
2. Expand the Display adapters category and right-click on your graphics card.
3. Select Update driver and choose Search automatically for updated driver software.
4. Follow the on-screen instructions to complete the update.
For chipset drivers:
1. Press the Windows key + X and select Device Manager.
2. Expand the System devices category.
3. Right-click on your chipset driver and select Update driver.
4. Choose Search automatically for updated driver software.
Updating these drivers can help resolve HDMI not displaying on your monitor.
Performing a Factory Reset on the TV/Monitor
Performing a Factory Reset on the TV/Monitor:
If you’re experiencing HDMI not displaying on your monitor, performing a factory reset can often resolve the issue. Here’s how to do it:
1. Press the Source button on your TV/monitor remote to access the input/source settings.
2. Navigate to the Connection Setting or Input menu.
3. Look for the option to perform a Factory Reset or Reset All Settings.
4. Select this option and confirm the reset.
5. Wait for the TV/monitor to reset and restart.
6. After the reset, check if the HDMI signal displays on your monitor.
Performing a factory reset can help resolve various issues, including signal problems and incorrect settings.
Resolving Windows Not Detecting Monitor Through HDMI
If your Windows is not detecting your monitor through HDMI, there are a few ways to fix this issue.
First, check if the HDMI cable is securely connected to both your computer and the monitor. Sometimes, a loose connection can cause signal issues.
Next, ensure that your monitor is set to the correct input source. Use the “Source” or “Input” button on your monitor to cycle through the available options until you see the display.
If that doesn’t work, try updating your graphics driver. Visit the manufacturer’s website and download the latest driver for your specific graphics card.
If none of these solutions work, you can try using a different HDMI cable or connecting the monitor using a different method, such as VGA or DisplayPort.
Caution: There might be an issue if the HDMI cable does not display any image on the monitor. Download this tool to run a scan