Skype for Business Network Unavailable – How to Fix It
Are you having trouble accessing Skype for Business due to a network error? Here are some simple steps to troubleshoot and fix the issue.
Clear corrupted cache to resolve Skype network issues
If you’re experiencing Skype network issues, clearing the corrupted cache might be the solution. Here’s how:
1. Close Skype for Business.
2. Press Windows Key + R to open the Run dialog box.
3. Type %localappdata%\Microsoft\Office\16.0\Lync and press Enter.
4. Delete the sip_ folder.
5. Open Skype for Business and sign in.
Clearing the cache will remove any temporary files and data that may be causing issues with signing in or connecting to network resources. If this doesn’t fix the issue, try restarting your computer or contacting your IT department for further assistance.
Remember, if you’re using Microsoft Teams, Skype for Business may be temporarily unavailable or in failover mode. Check the Office 365 Service Health Dashboard for updates on any known issues.
Don’t hesitate to contact your IT department for further assistance with network issues or business server configurations.
By repairing damaged system files and faulty settings, Fortect can potentially resolve issues that result in network unavailability. Additionally, it can address freezing programs, damaged DLL files, and even the Blue Screen of Death (BSoD), ensuring that Windows and other programs run smoothly.

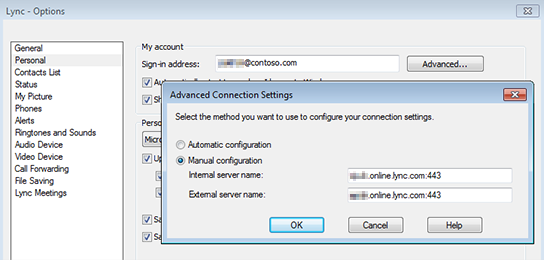
Manually configure Skype for Business to fix network unavailability
To manually configure Skype for Business when facing network unavailability issues, follow these steps:
1. Open Skype for Business and click on the gear icon for settings.
2. Select “Tools” and then “Options.”
3. Under the “General” tab, select “Personal.”
4. Uncheck the option for “Automatically start the app when I log on to Windows.”
5. Click “OK” to save and close the options window.
6. Sign out of Skype for Business.
7. Open the Windows Control Panel and select “Internet Options.”
8. Go to the “Connections” tab and click on “LAN settings.”
9. Ensure that “Automatically detect settings” is unchecked and that “Use a proxy server for your LAN” is checked.
10. Enter the IP address of your network resource in the “Address” field and the port number in the “Port” field.
11. Click “OK” to save and close the LAN settings window.
12. Restart Skype for Business and try signing in again.
By manually configuring Skype for Business, you can overcome network unavailability issues and enjoy uninterrupted communication with your colleagues and clients.
Update and reinstall Skype to resolve network errors
To resolve network errors with Skype for Business, the first step is to update and reinstall the application. Follow these steps:
1. Uninstall Skype: Go to the Control Panel, click on “Programs and Features,” find Skype for Business, and uninstall it.
2. Download and reinstall Skype: Go to the Microsoft website and download the latest version of Skype for Business.
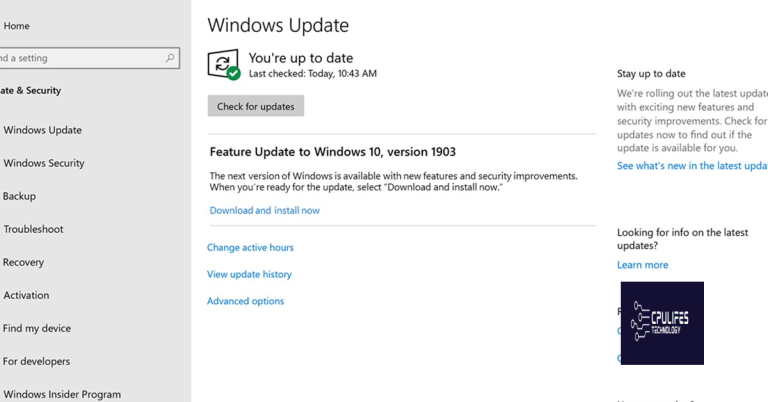
3. Update Windows: Make sure your Windows operating system is up to date.
4. Check your network resource: Ensure that your network resource is available and functioning properly.
5. Try Microsoft Teams: If Skype for Business is still not working, try using Microsoft Teams instead.
By following these steps, you should be able to resolve any network errors with Skype for Business and get back to chatting with your colleagues.
Troubleshoot temporary server unavailability error in Skype for Business
| Troubleshoot Temporary Server Unavailability Error in Skype for Business | |
|---|---|
| Error Message: | Skype for Business Network Unavailable |
| Possible Causes: |
|
| Steps to Fix: |
|
Please be cautious as Skype for Business may experience network unavailability, hindering your communication capabilities. Download this tool to run a scan