Solutions for Windows 7 Home Premium Shutdown Problem
Windows 7 Home Premium users facing persistent shutdown issues can now breathe a sigh of relief. In this article, we delve into the various effective solutions that can help resolve these frustrating shutdown problems once and for all.
Quick Fixes for Windows 7 Shutdown Issues
For quick fixes to Windows 7 shutdown issues in Windows 7 Home Premium, try these solutions:
1. Check for overheating: Ensure your computer isn’t overheating as it can cause shutdown issues. Clean the vents and make sure the fans are working properly.
2. Update drivers: Outdated drivers can lead to shutdown problems. Update your drivers using Windows Update or by visiting the manufacturer’s website.
3. Scan for malware: Run a full scan using your preferred antivirus software to check for any malware that may be causing shutdown issues.
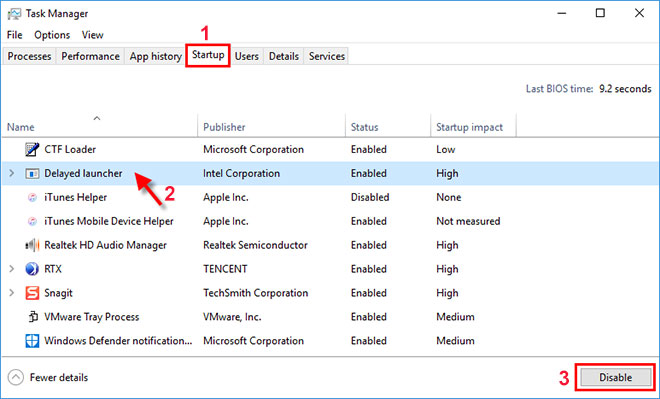
4. Disable unnecessary startup programs: Some applications may clash with the shutdown process. Open the Task Manager, go to the Startup tab, and disable any unnecessary programs.
5. Check power supply: Power supply problems can cause unexpected shutdowns. Verify that your power cables are properly connected and consider testing with a different power supply if possible.
If you’re still experiencing shutdown issues, consider seeking assistance from Microsoft support or visiting online forums for further troubleshooting steps.
Preventing Random Shutdowns in Windows 7
If you’re experiencing random shutdowns in Windows 7 Home Premium, there are a few solutions you can try. First, check for any recently installed applications or updates that may be causing the problem. Uninstall them and see if the issue persists.
Next, make sure your computer is free from viruses and malware by running a full system scan using a reliable antivirus program.
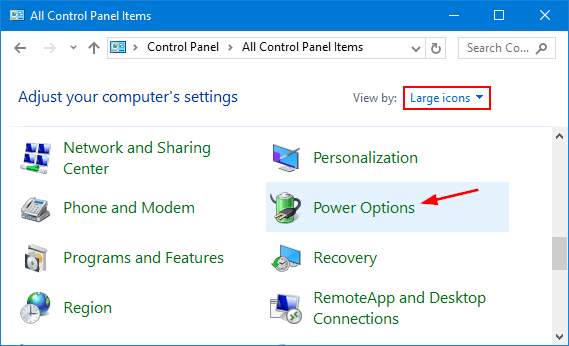
You can also try adjusting your power settings. Go to the Control Panel, select “Power Options,” and choose a power plan that suits your needs. Additionally, check the BIOS settings for any potential issues or conflicts.
If none of these methods work, you can use the Fortect tool provided by Microsoft to help diagnose and fix shutdown problems. Download the tool from the Microsoft website and follow the on-screen instructions.
Remember to always back up your important files before attempting any troubleshooting methods. If the problem continues, it may be best to consult with a professional technician or reach out to Microsoft support for further assistance.
Troubleshooting Methods for Windows 7 Shutdown Problems
- Step 1: Check for any recently installed software or drivers that may be causing conflicts.
- Open Control Panel by clicking on the Start button and selecting Control Panel.
- Click on Programs and then Programs and Features.
- Look for any recently installed software or drivers.
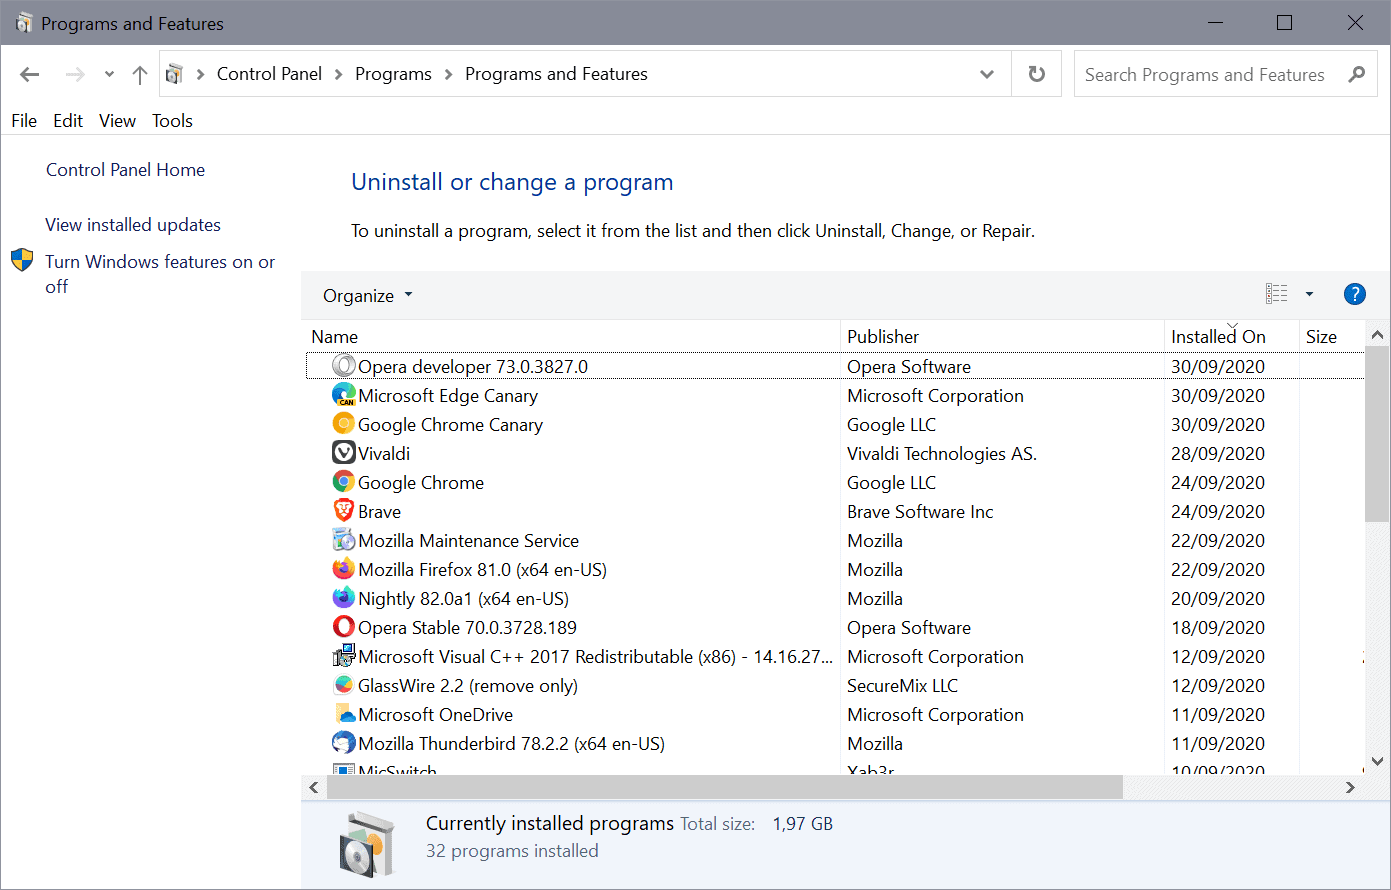
- If you find any, select them and click on Uninstall to remove them.
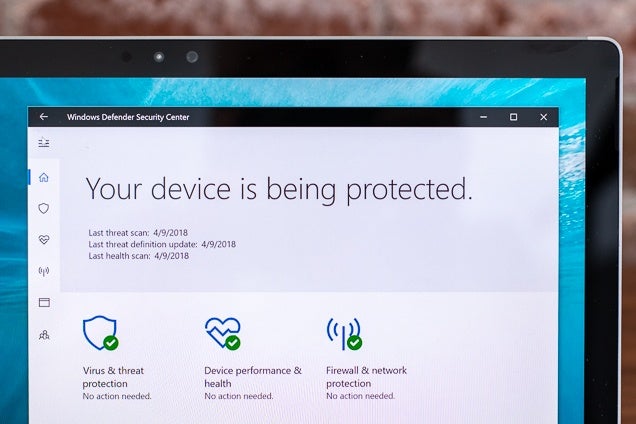
- Step 2: Scan your computer for malware or viruses.
- Open your antivirus software and run a full system scan.
- If any malware or viruses are detected, follow the instructions provided by your antivirus software to remove them.
- Step 3: Check for any pending Windows updates and install them.
- Open Windows Update by clicking on the Start button, typing Windows Update in the search box, and selecting Windows Update from the search results.
- Click on Check for updates and wait for Windows to scan for available updates.
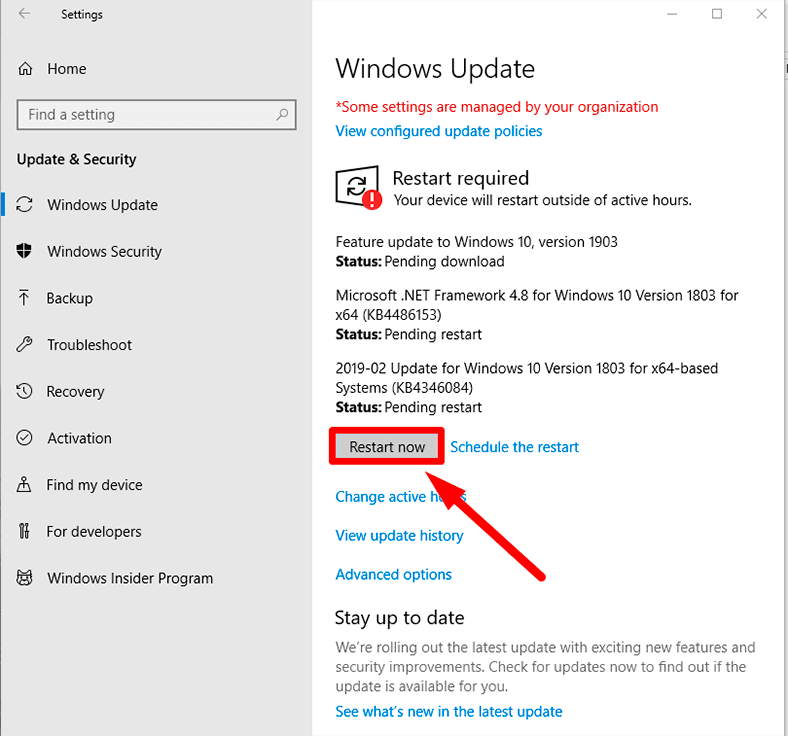
- If there are any updates available, click on Install updates to install them.
- Step 4: Perform a clean boot to identify any third-party software conflicts.
- Press Windows key + R to open the Run dialog box.
- Type “msconfig” and press Enter.
- In the System Configuration window, click on the Services tab.
- Check the box next to Hide all Microsoft services.
- Click on Disable all.
- Go to the Startup tab and click on Open Task Manager.
- In the Task Manager, disable any startup items that are enabled.
- Close the Task Manager and click on OK in the System Configuration window.
- Restart your computer for the changes to take effect.
- Step 5: Check your power settings and adjust them if necessary.
- Click on the Start button and select Control Panel.
- Click on System and Security and then Power Options.
- Check the current power plan settings and make sure they are appropriate for your usage.
- If necessary, click on Change plan settings to adjust the power settings.
Addressing Overheating Issues in Windows 7 Shutdowns
If you are experiencing overheating issues in Windows 7 shutdowns, there are a few solutions you can try. First, make sure your PC is clean and free from dust buildup, as this can cause overheating. Additionally, check your power supply for any problems, as power supply issues can also lead to overheating.
Consider adjusting your power settings to prevent overheating. Go to the Control Panel and select “Power Options.” From here, choose a power plan that suits your needs, but be sure to select “Change plan settings” and then “Change advanced power settings.” In the advanced settings, you can adjust the cooling policy to prioritize cooling over power savings.
If the issue persists, it may be helpful to update your BIOS to the latest version. You can usually find BIOS updates on your PC manufacturer’s website.
By addressing these potential causes of overheating, you can help prevent shutdown issues and ensure a smoother experience with your Windows 7 Home Premium operating system.
Resolving Windows 7 Random Shutdowns
If you are experiencing random shutdowns on your Windows 7 Home Premium computer, there are a few solutions you can try.
First, check for any recently installed applications or updates that may be causing the issue. Uninstalling or disabling them can often resolve the problem.
Next, make sure your power supply is functioning properly. Power supply problems can sometimes cause unexpected shutdowns.
If you are a gamer, check for any conflicts between your games and the operating system. Some games may clash with Windows 7, causing shutdowns.
Additionally, check for any BIOS issues. Updating your BIOS can sometimes fix random shutdown problems.
Finally, you can try booting your computer in safe mode to see if the issue persists. If it doesn’t, then a third-party application may be causing the shutdowns.
Remember to always back up your files before attempting any solutions. If the problem persists, consider seeking assistance from the Microsoft community forums or contacting Microsoft support for further assistance.
Optimizing Windows 7 Shutdown Performance
table {
border-collapse: collapse;
width: 100%;
}
th, td {
text-align: left;
padding: 8px;
}
th {
background-color: #f2f2f2;
}
tr:nth-child(even) {
background-color: #f9f9f9;
}
Solutions for Windows 7 Home Premium Shutdown Problem
| Solution | Description |
|---|---|
| 1. Disable Startup Programs | Prevents unnecessary programs from running during shutdown, speeding up the process. |
| 2. Update Device Drivers | Ensure all hardware drivers are up to date, as outdated drivers can cause shutdown delays. |
| 3. Scan for Malware | Run a thorough antivirus scan to remove any malware that may be causing shutdown issues. |
| 4. Disable Fast Startup | Turn off the Fast Startup feature, which can sometimes cause problems with shutdown. |
| 5. Check Power Settings | Ensure power settings are configured correctly to avoid any conflicts or delays during shutdown. |
| 6. Perform System File Check | Run the System File Checker tool to scan for and repair any corrupted system files. |
| 7. Disable Automatic Restart | Prevent Windows from automatically restarting after a shutdown, which can sometimes cause delays. |
| 8. Clean Boot | Start Windows in a clean boot state to troubleshoot and identify any conflicting programs or services. |
| 9. Check for Windows Updates | Ensure Windows is up to date with the latest updates, as they often include bug fixes and performance improvements. |
| 10. Reinstall Windows | If all else fails, consider reinstalling Windows to resolve any underlying system issues causing the shutdown problem. |